MiG-21MF Eduard 1/72
It’s amazing to see Eduard’s MiG-21 in 1/72 scale!!! Their entire series of MiG-21 in 1/48 scale is so good, easy to built, good accuracy, large options to build and equip and many decals options. As well MiG-21 served in so many countries, product as this one, can have great success.
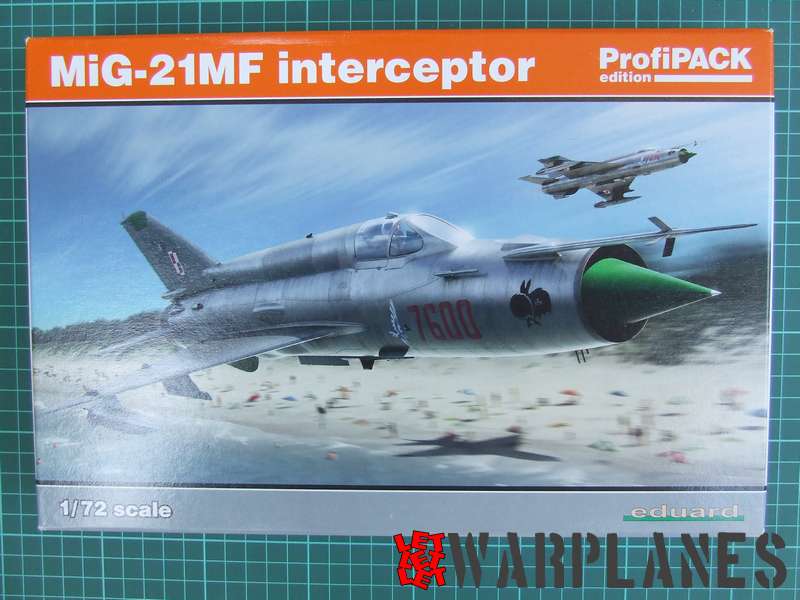
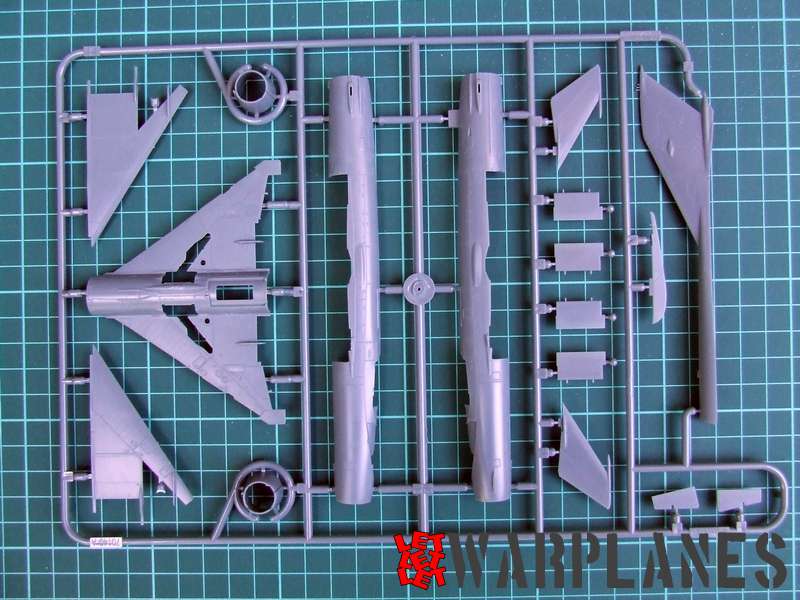
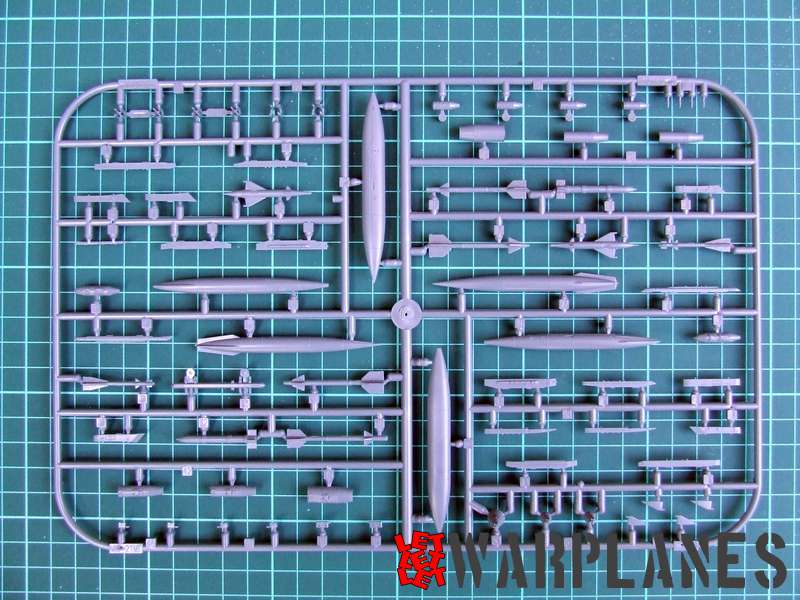
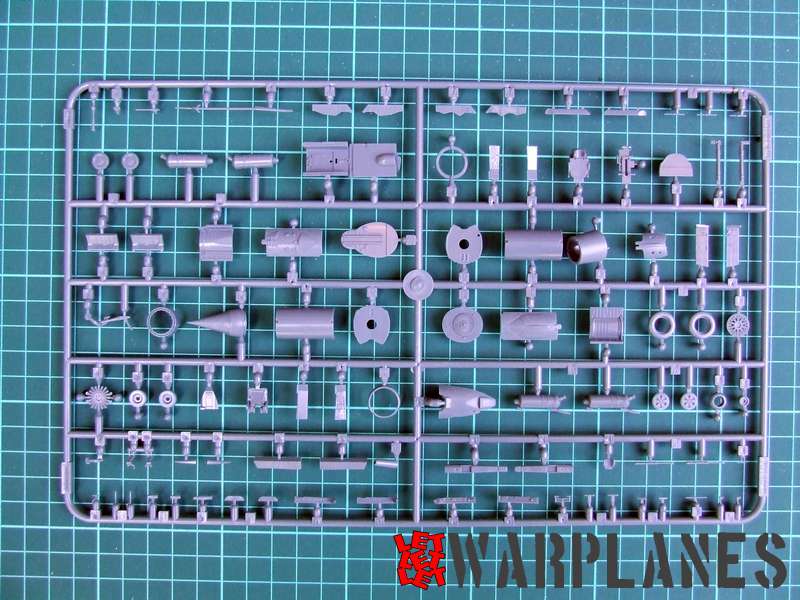
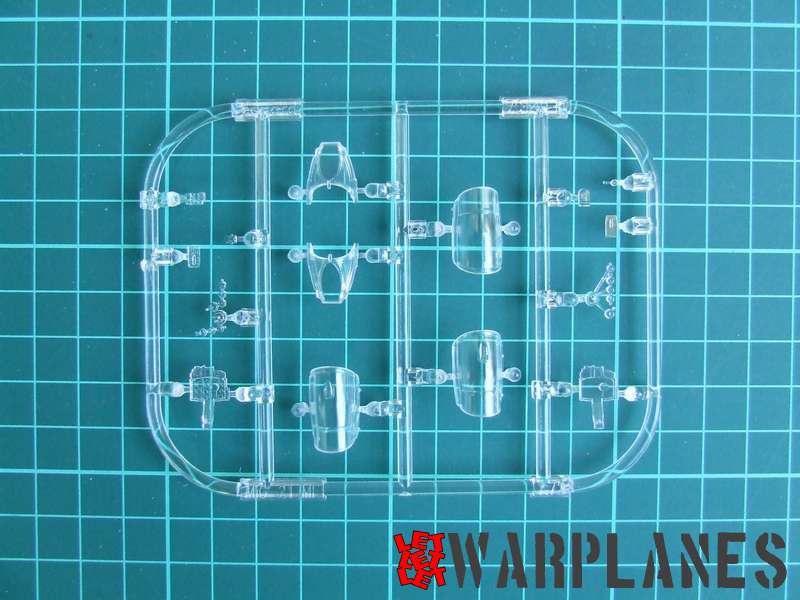
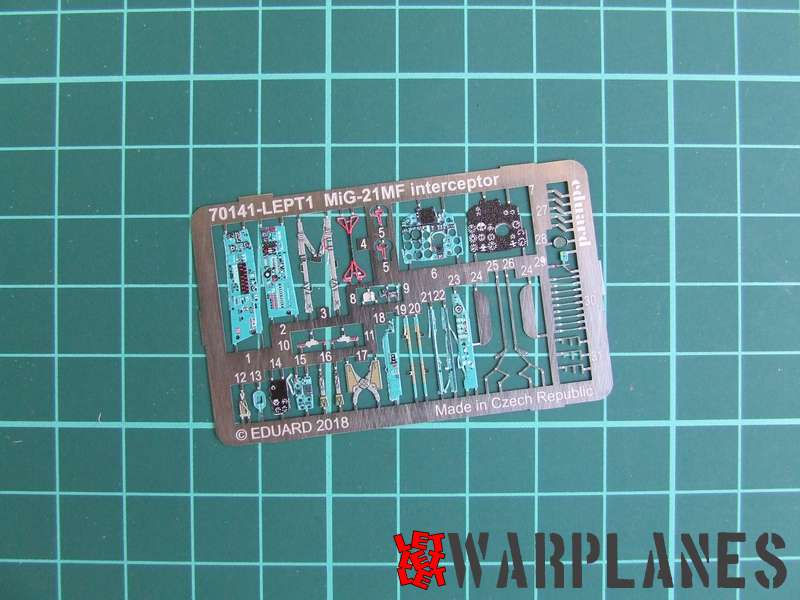
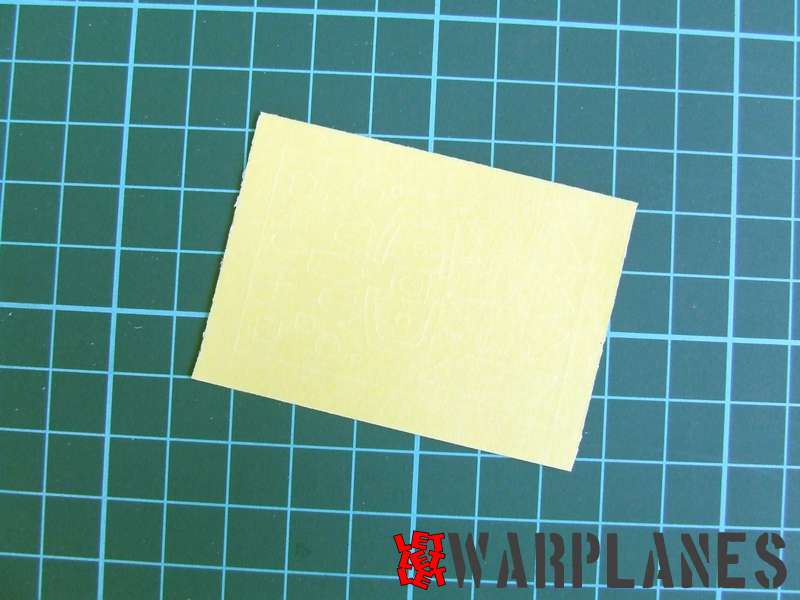
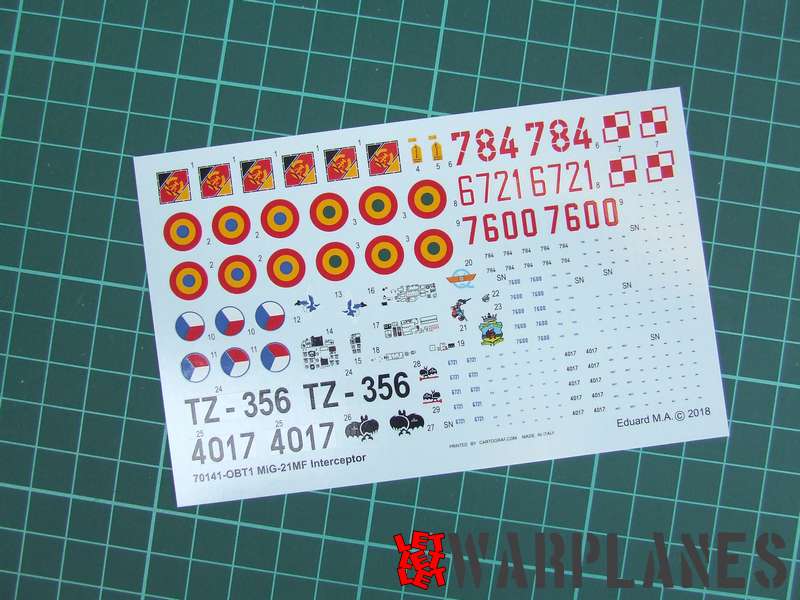
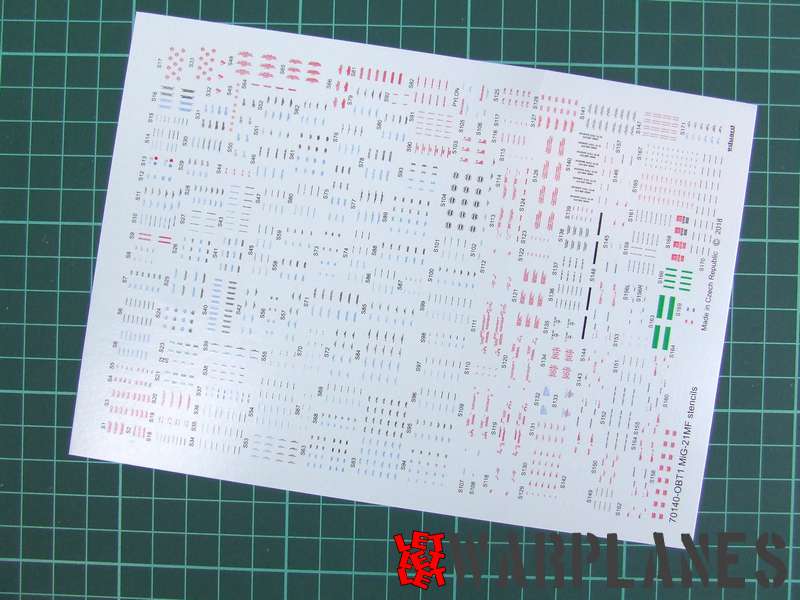
For the very first MiG-21 in 1/72, Eduard choose MF version and idea is fine as well MF have been used in many countries. Art box show Polish MiG-21MF, product is Eduard well known ProfiPACK and stock item is 70141. Package include nice instructional leaflet, three grey plastic fret, one transparent, painted etched set, mask and of course- decals. Decals is interesting that there is two sheet, one for service labels and another one for national insignia and unit markings. What is interesting there is that service sheet is far bigger then for national insignia, MiG-21 had really a lot of service inscriptions and they are provided in few different colors. So everything is covered there.
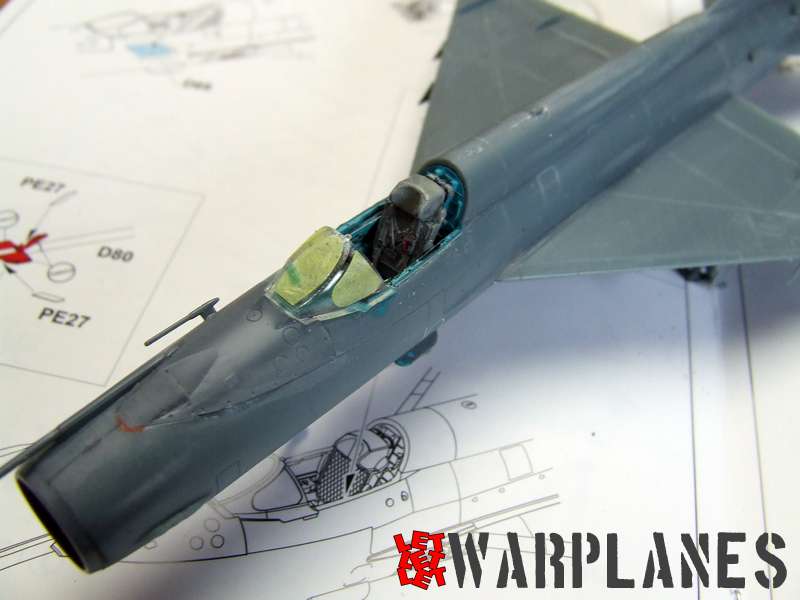
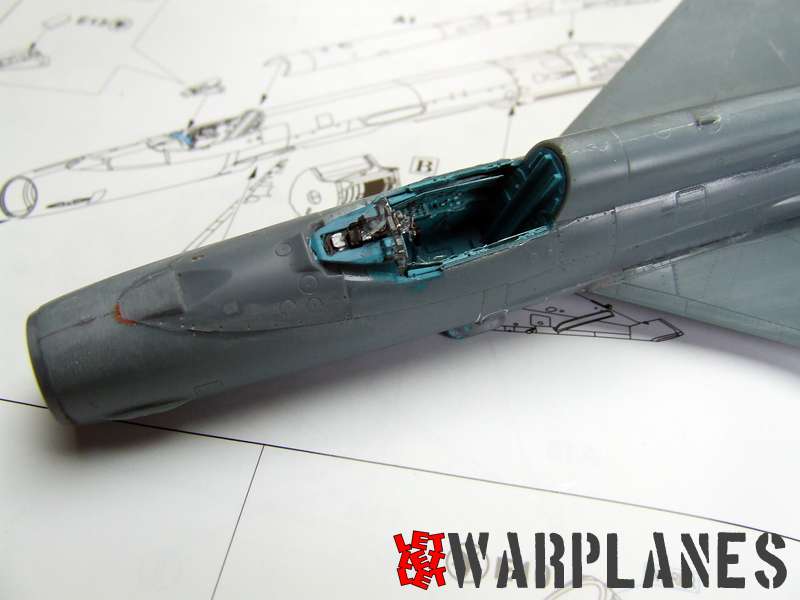
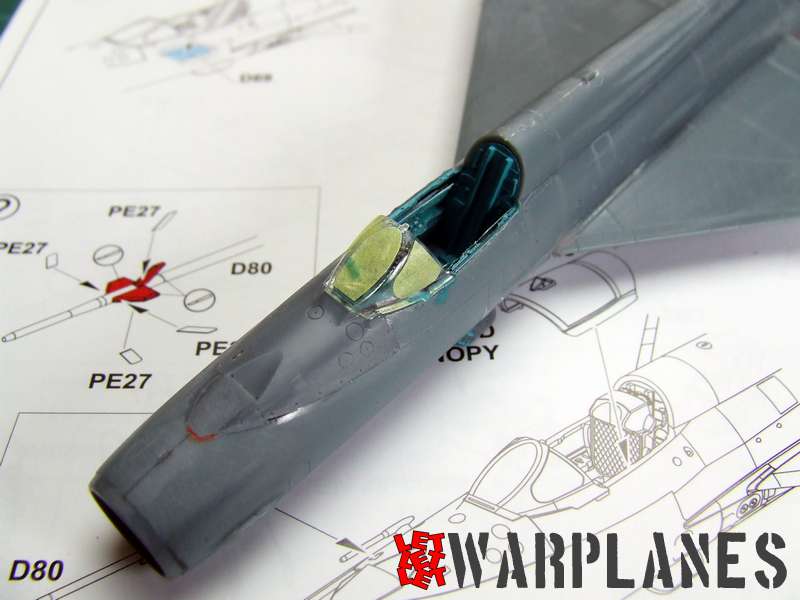
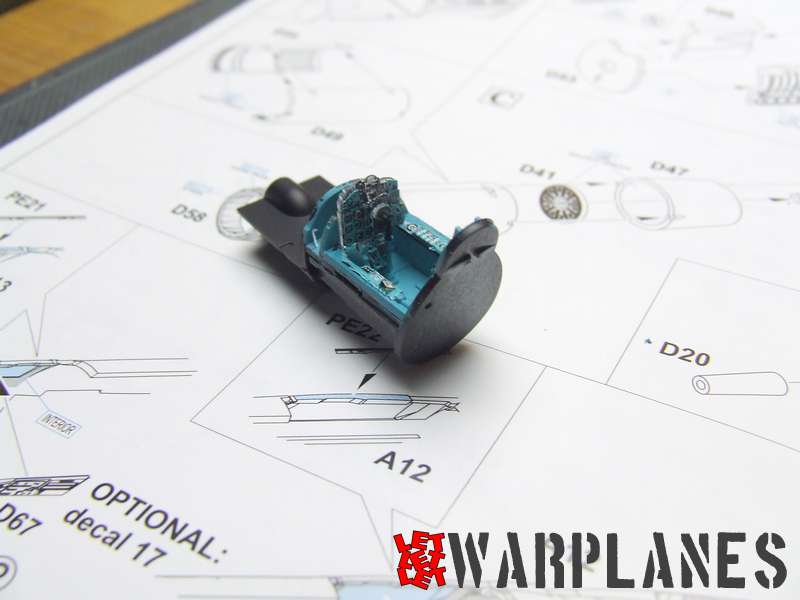
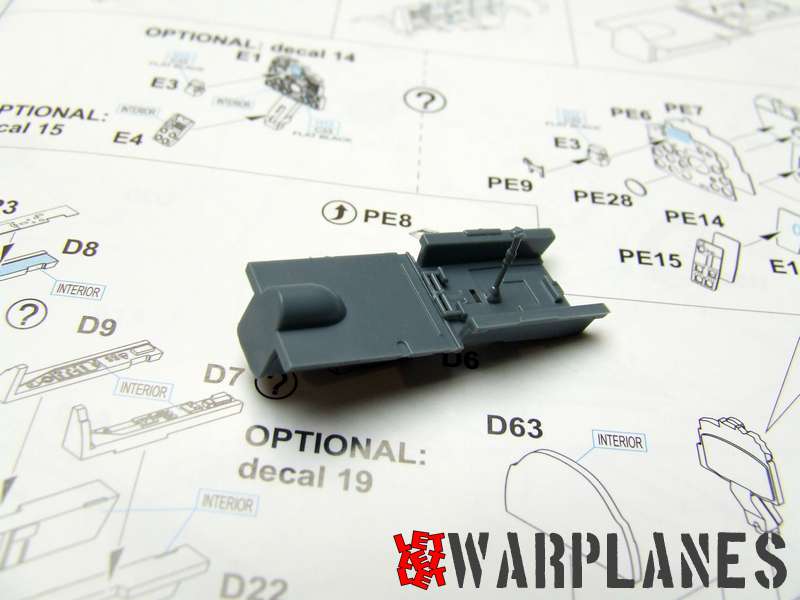
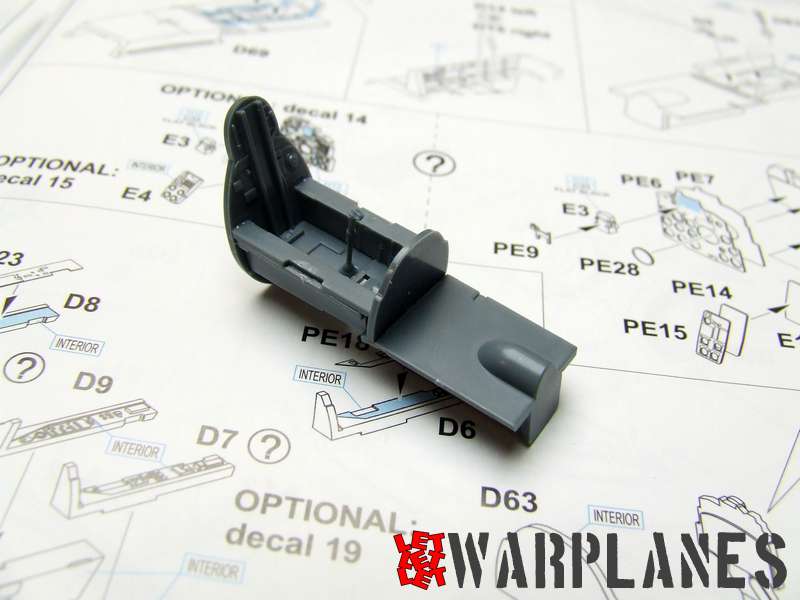
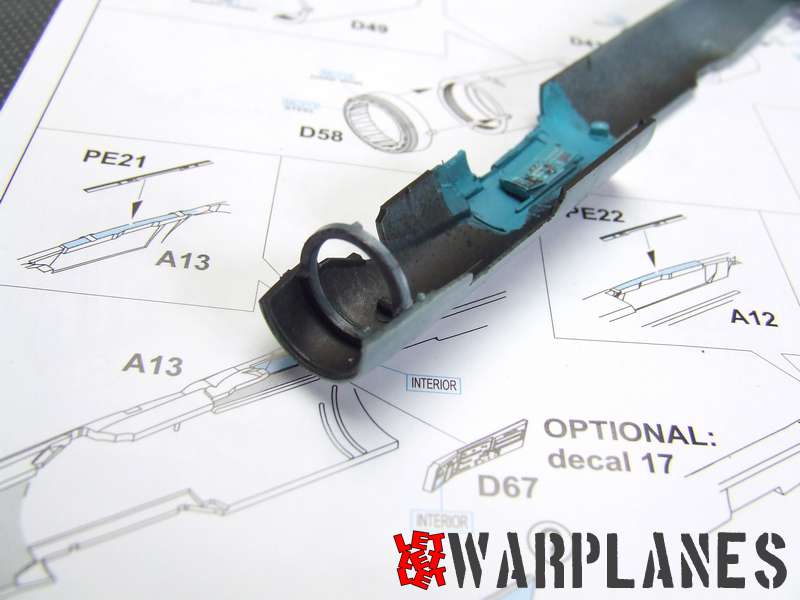
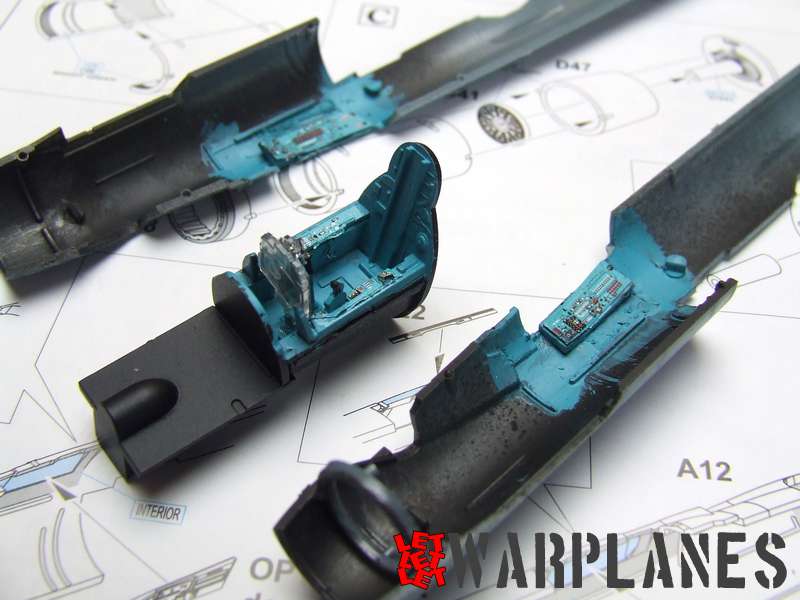
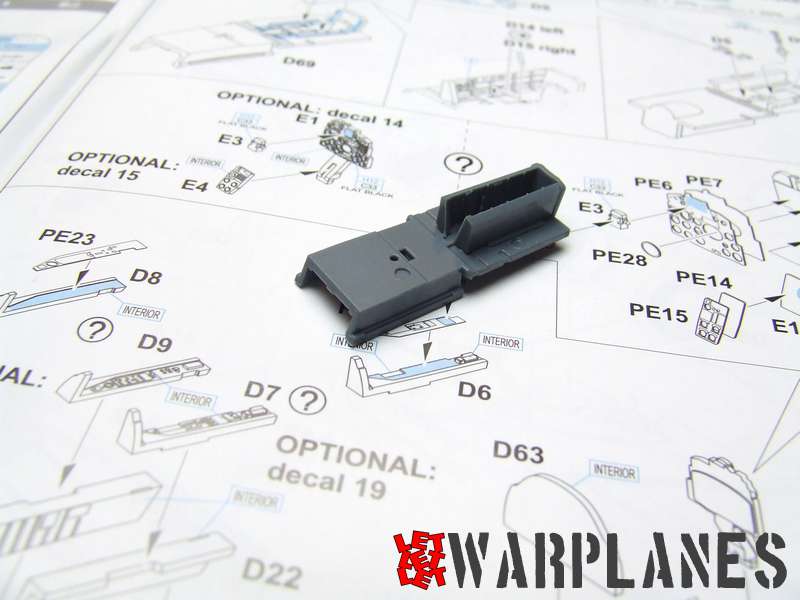
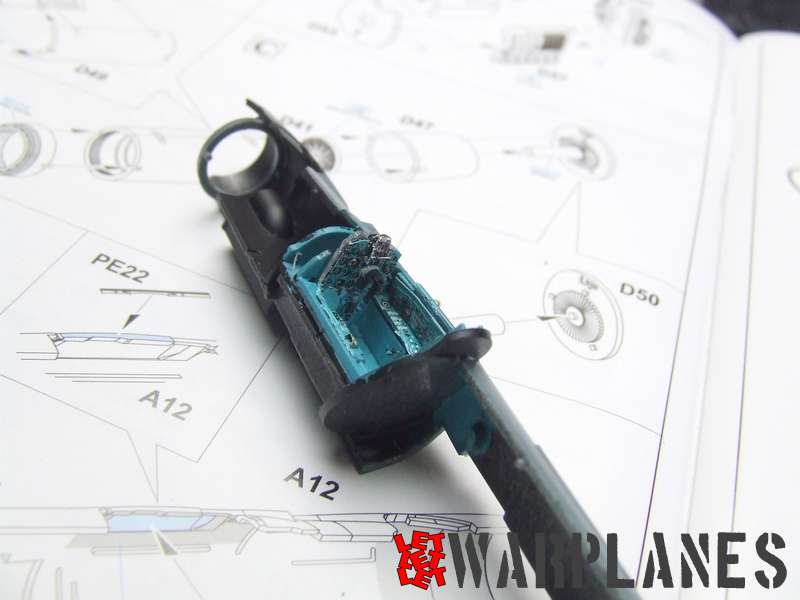
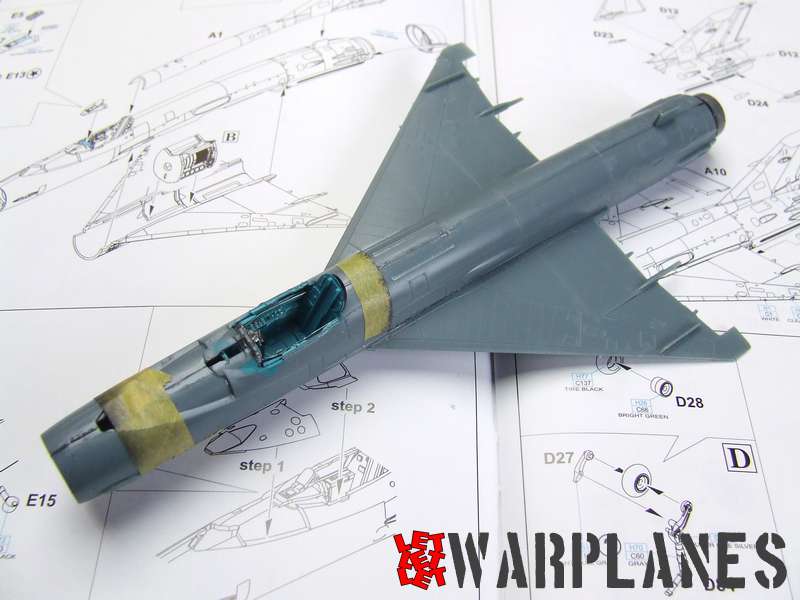
Build start from assembly of nose landing gear bay, this sections goes under the part which holds cockpit element on reverse side. There I note that there is no pins for parts positions but you need to fit to surface elements and guide elements. Just take a better look and no problem in assembly. For cockpit there is two options- to use decals for instrument panels or to use etched parts. Both options are good, select it at your own wish and preferences and from this selection depends which parts you will use, as well basic parts are different for decals or fro etched parts; my choice was etched parts. Basic cockpit interior color is blue green and Eduard provide mix of this paint and I use Vallejo 70808 Bue Green, which is very good match too (only need to paint by brush).
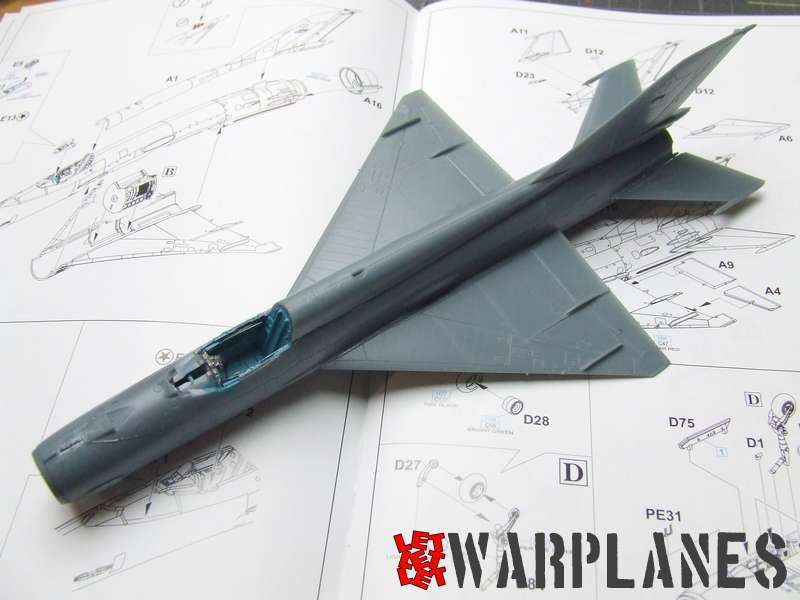
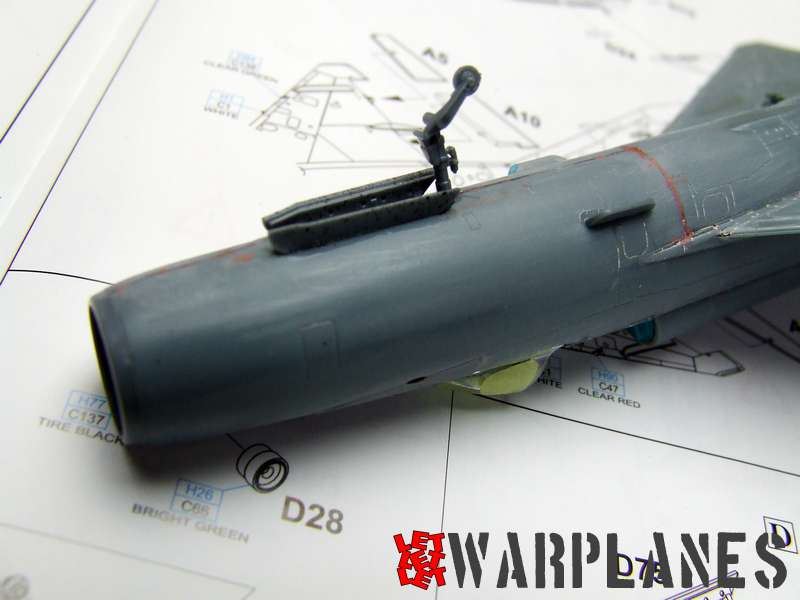
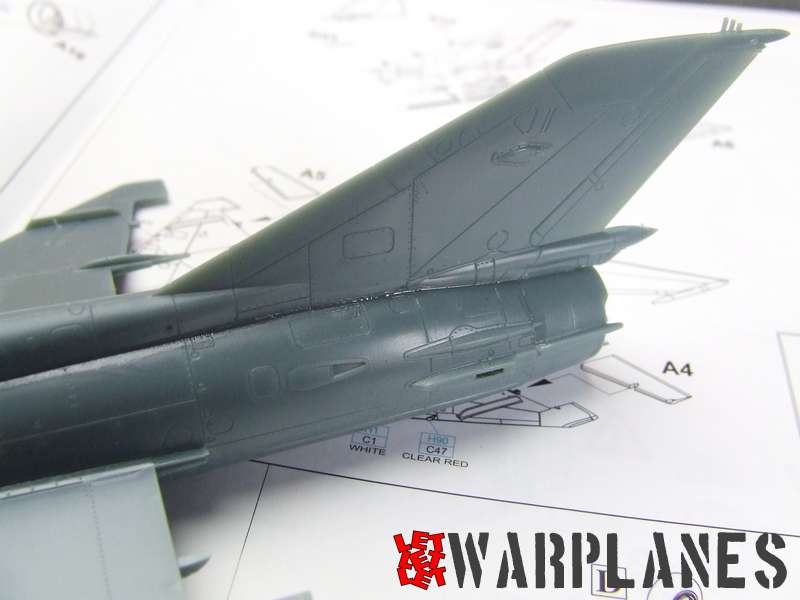
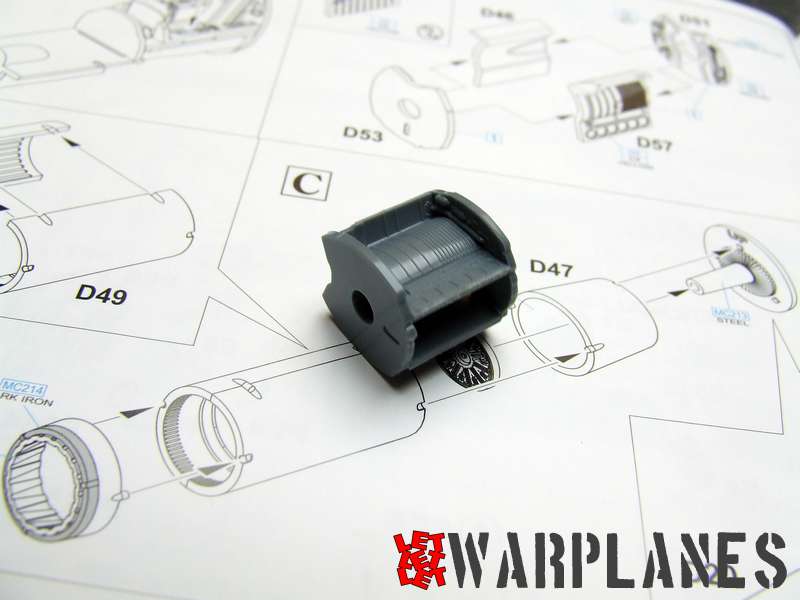
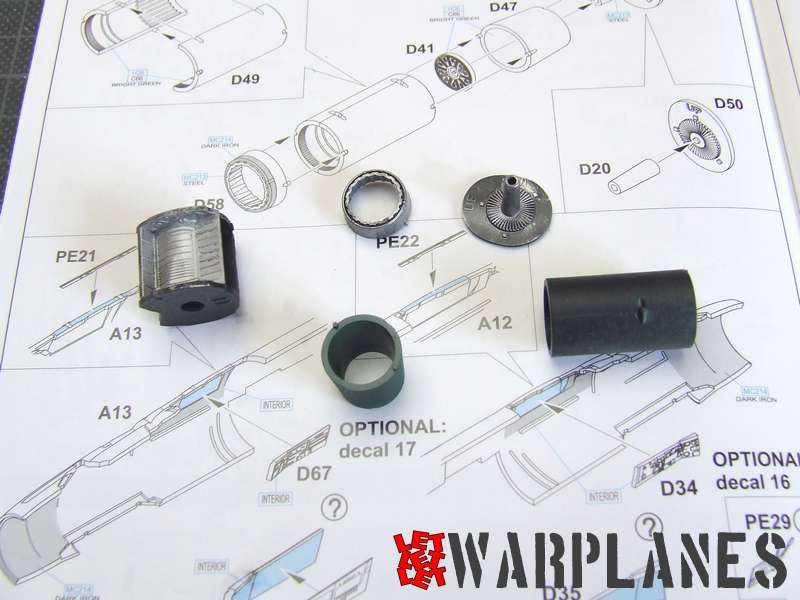
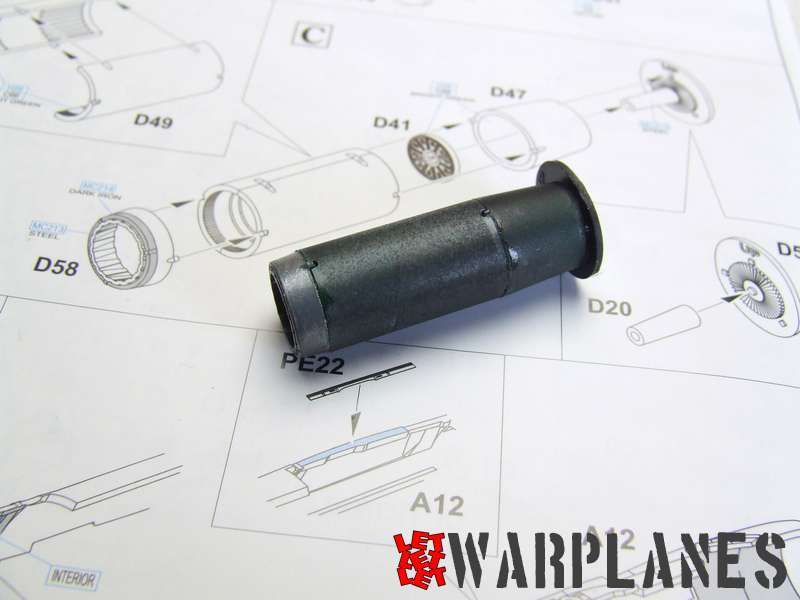
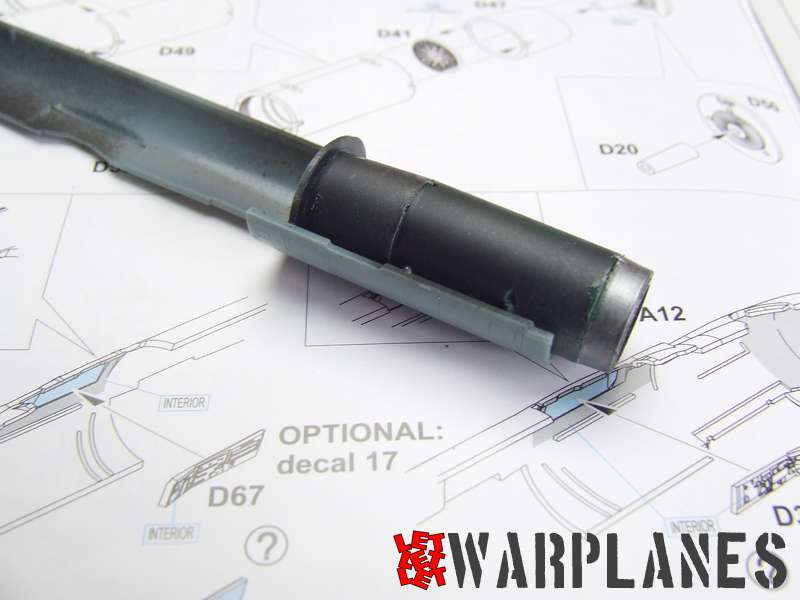
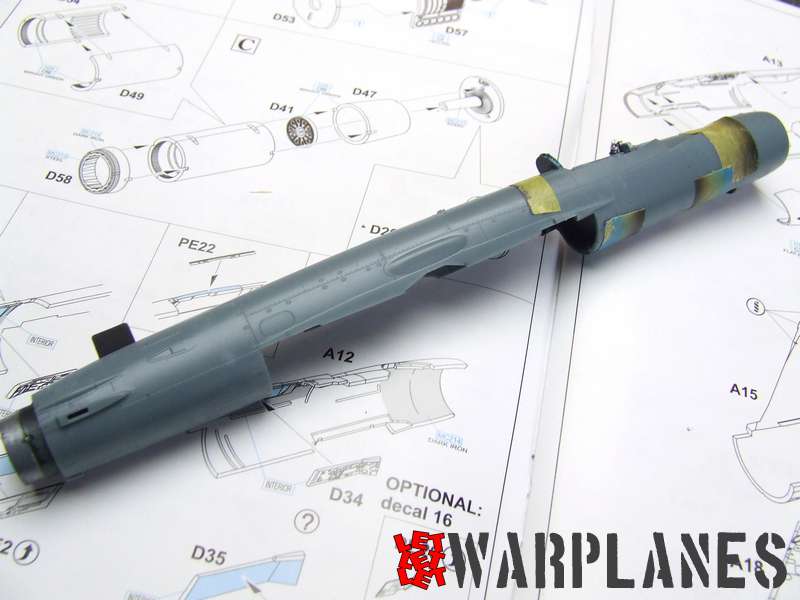
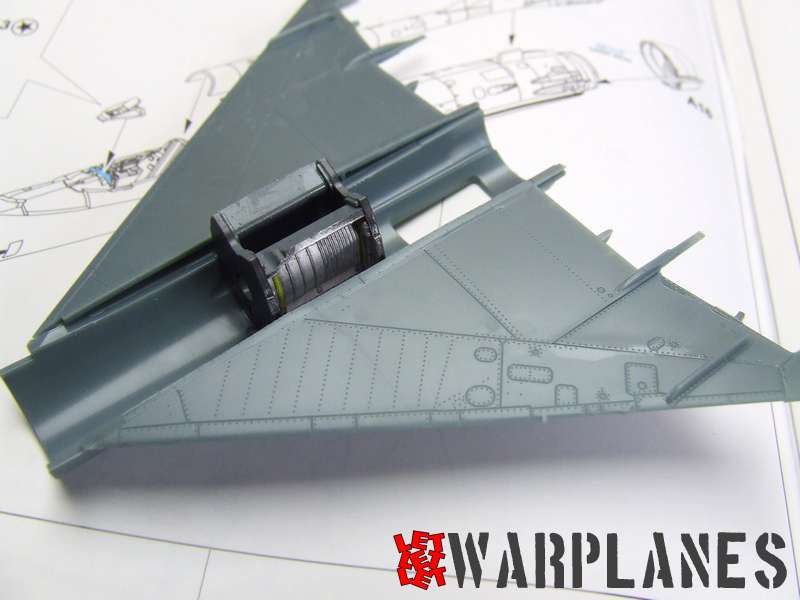
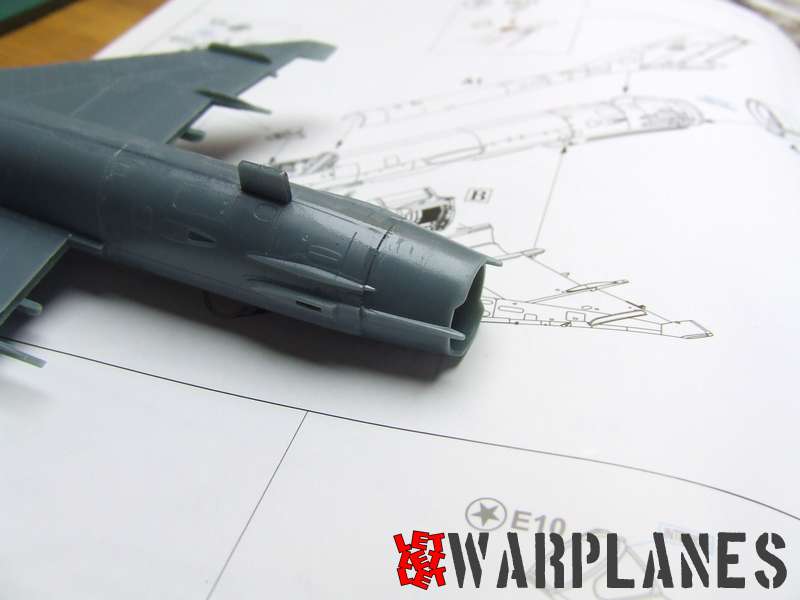
Cockpit canopy is among the assembly sections which goes inside fuselage and it is not the only one, there also goes main landing gear bay and engine. Design of parts is identical as on their 1/48 scale kit, only difference is in size. Details on both sections are fine. And what I like the most in fuselage assembly process is the part D68. This part is what miss in larger 1/48 scale kit and this is base for the intake cone radome. What benefits its bring is the options to put radome cone at the very end, make more easy in finishing ( as well no need for extra protection) and also make options to manage balance of the kit, as well MiG-21 is with nose leg and in most cases there is need for extra weight in nose to keep it properly stand.
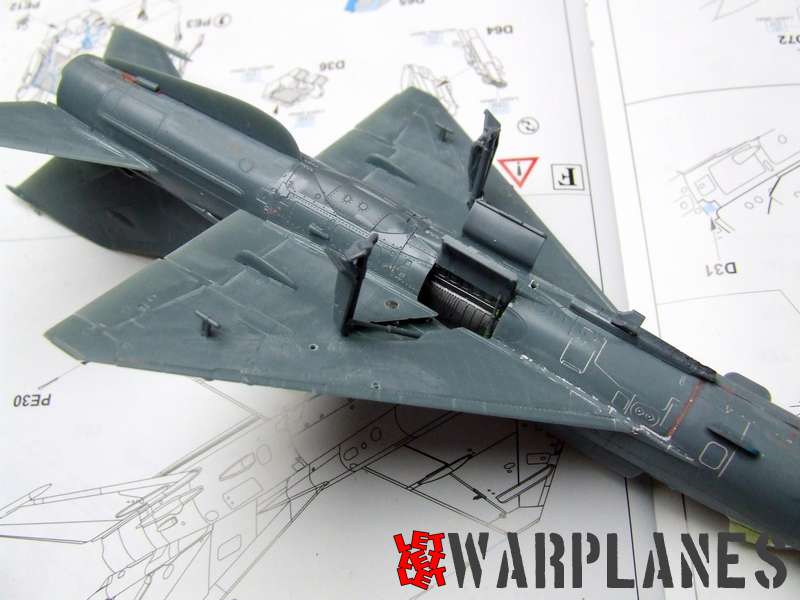
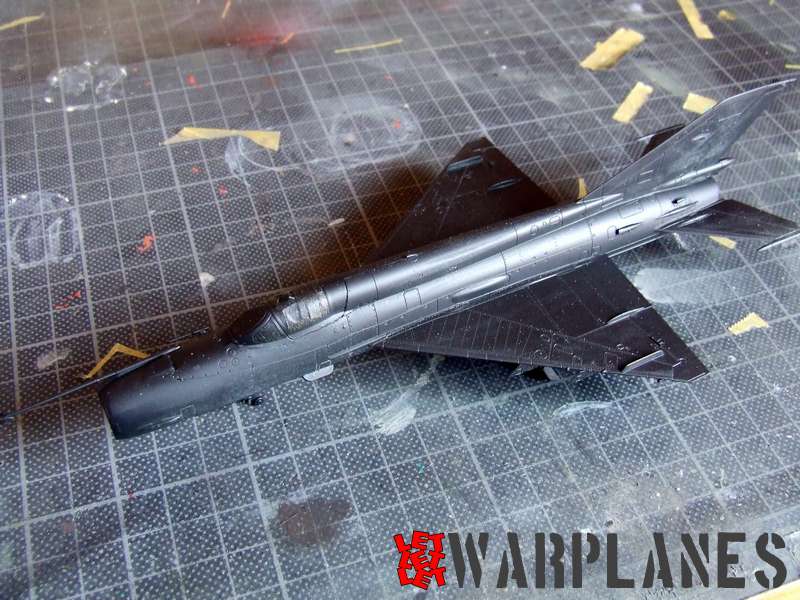
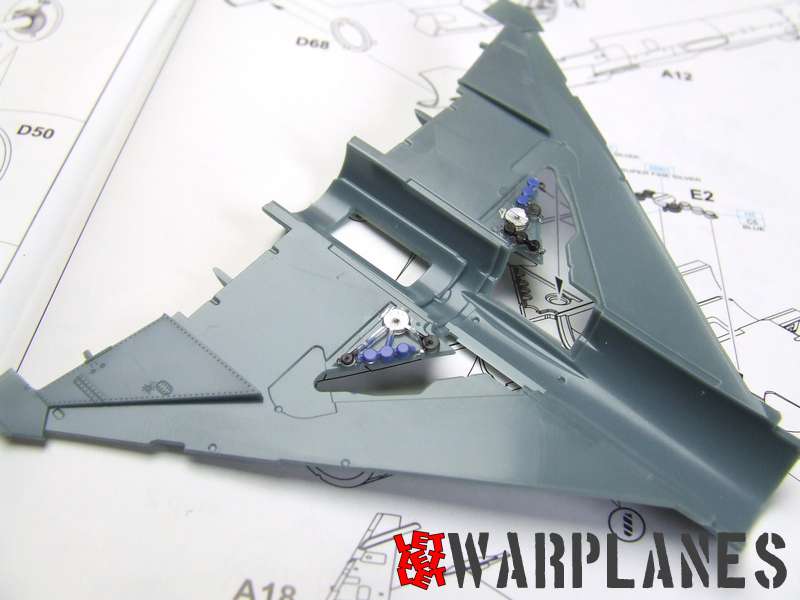
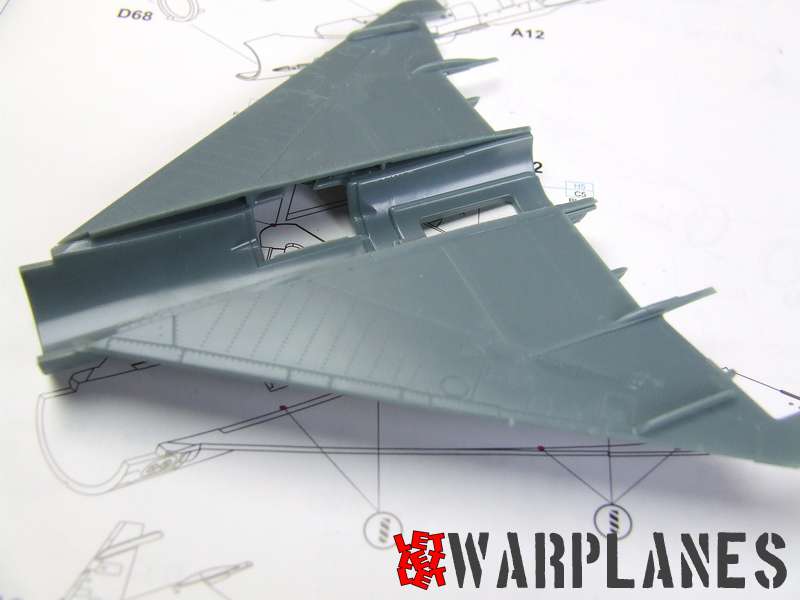
Wings are as easy to assembly as possible, two transparent elements goes on each side of bottom wing, bigger one part paint with high polished silver, rest is pressure containers in blue and black color. Above come two top parts, inside central parts goes main landing gear bay. But… think twice what your kit will have at the end of the build as well you need to drill holes in bottom wings parts and there will be later mounted pylons with various equipment. When you done all of this, place wing at the bottom of the fuselage. All elements fit perfect, including the one to fuselage.
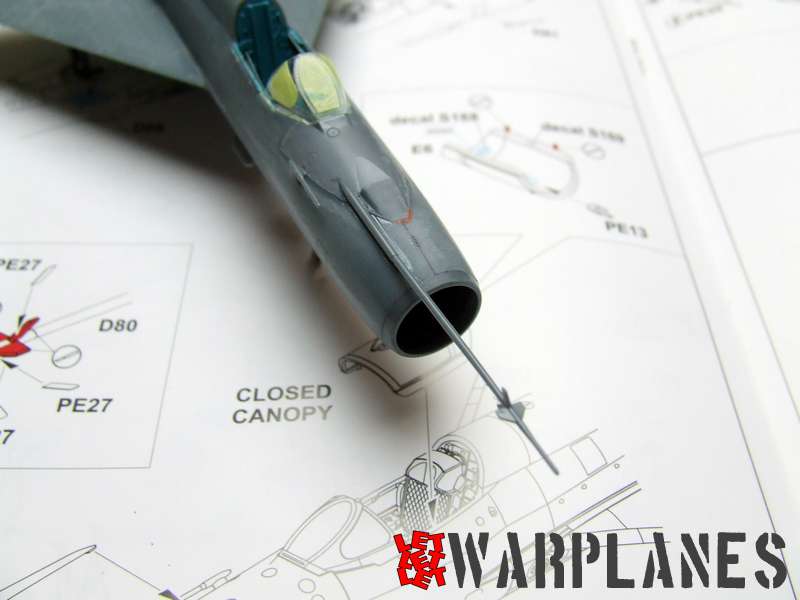
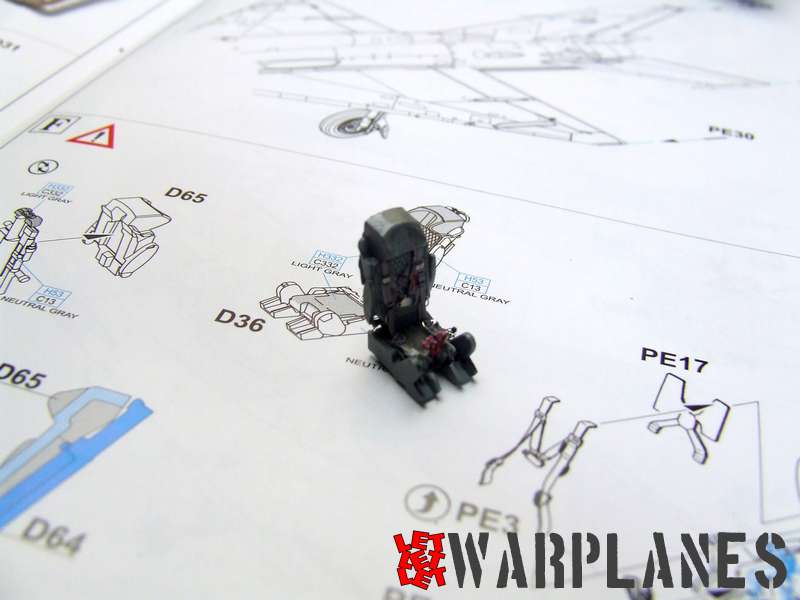
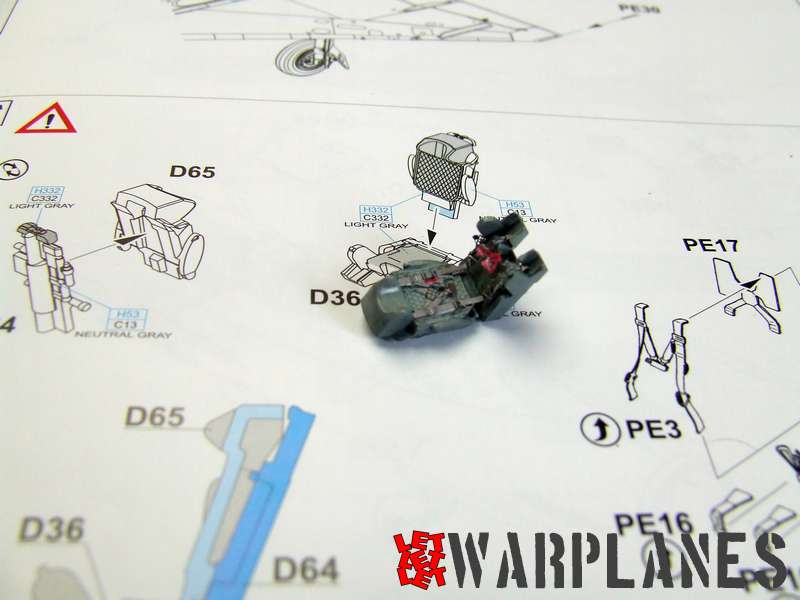
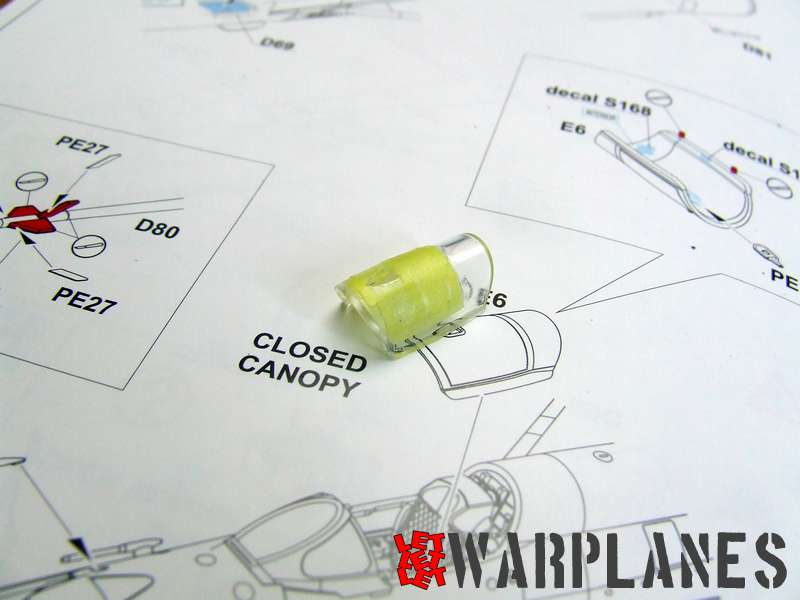
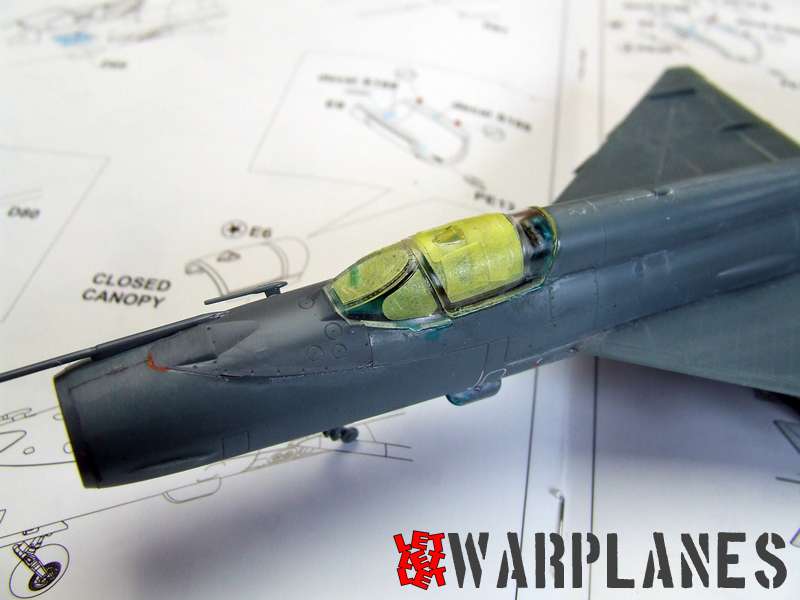
Next part of the party is cockpit elements, actually many small elements to fit and first in line is cocpit. This include small cover in front of the windscreen as well the same windscreen. Control surfaces on tail and wings are next as well few small intakes on fuselage. Landing gear come the next and I did all but wheels, in general, I leave them for the very end. Cockpit include options to be with closed or open canopy and I choose closed streamlined version. In this case I completed seat, which is in simple two grey colors and with seat belts on it. Last section is put various ordnance on kit and Eduard provided two types of external fuel tanks, three types of missiles and rocket for short take of.
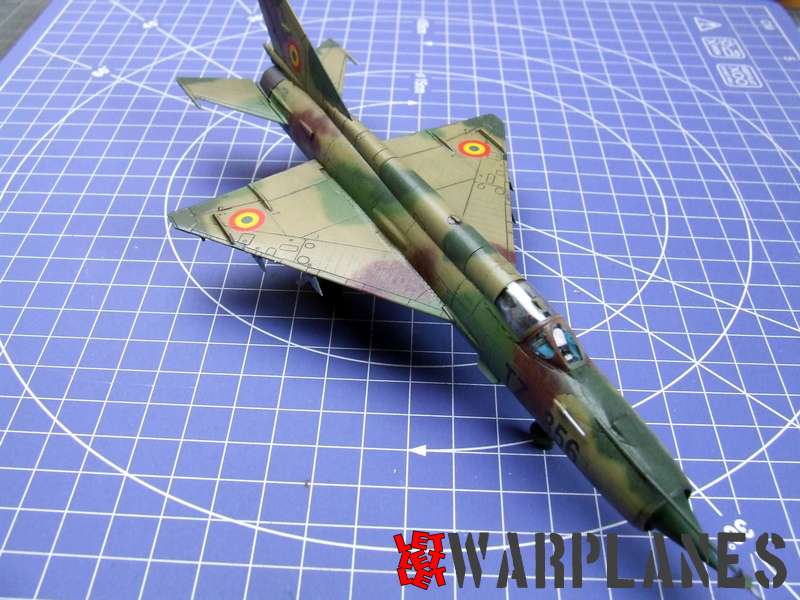
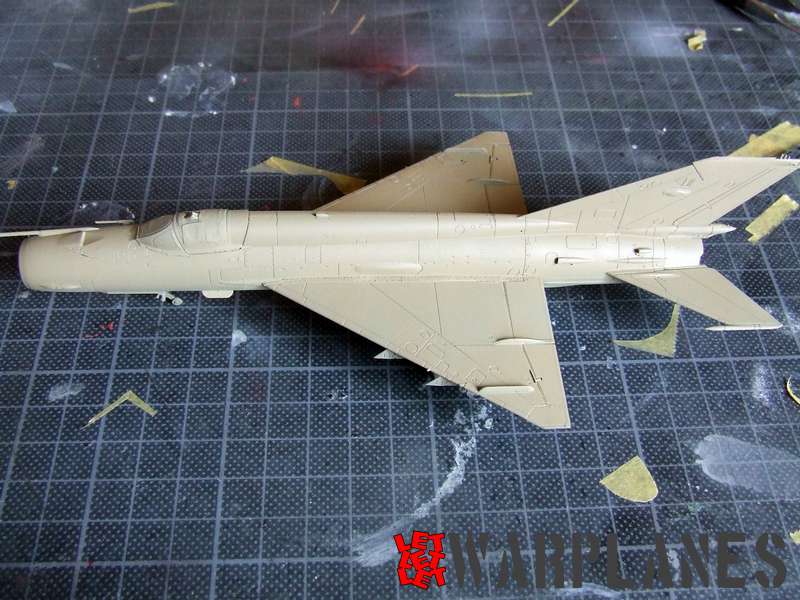
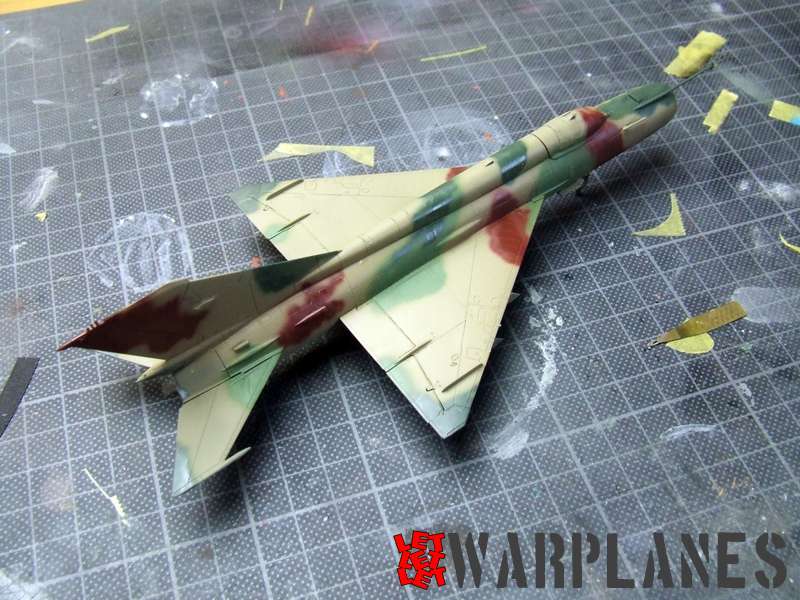
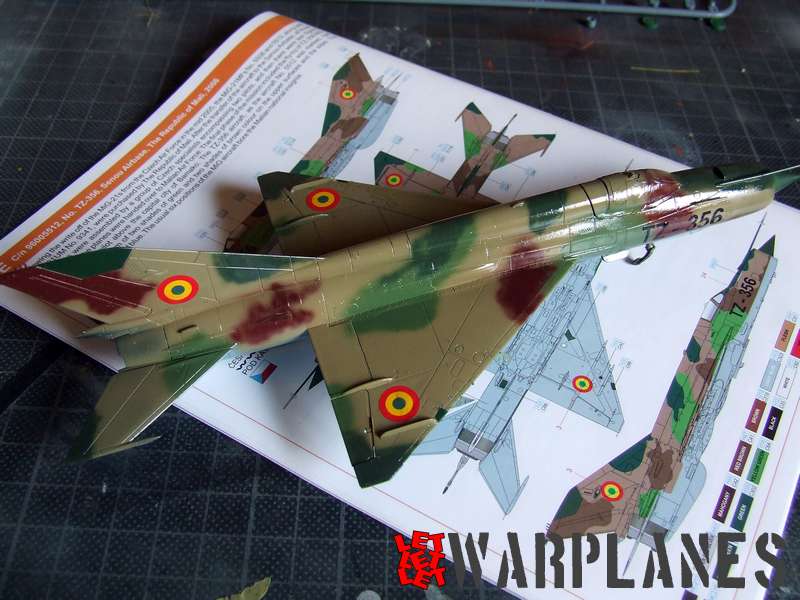
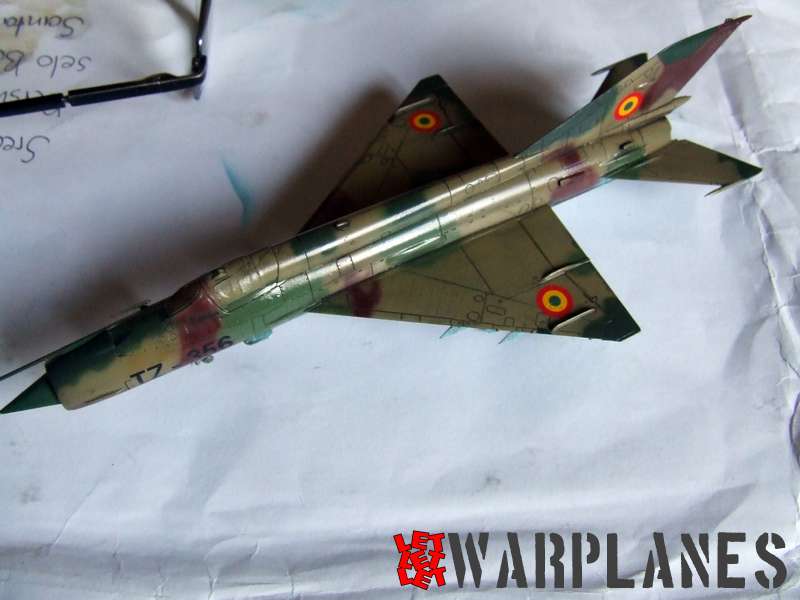
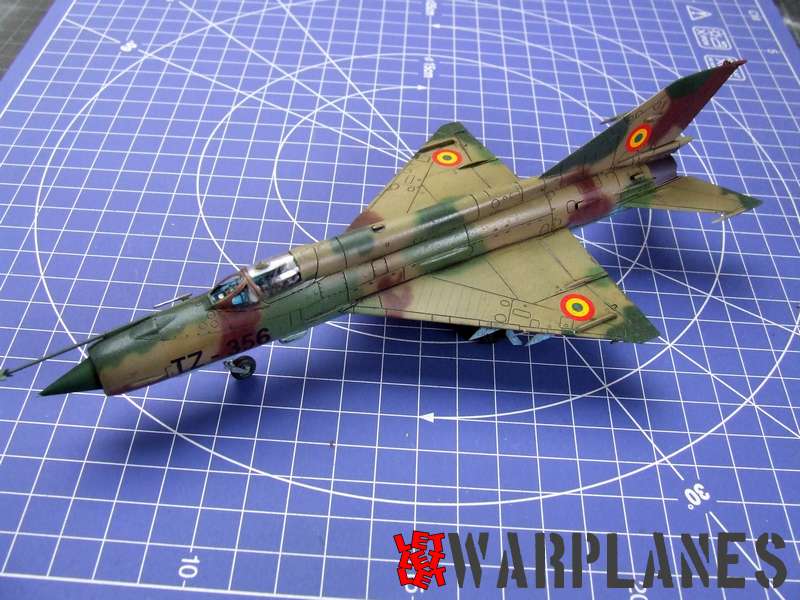
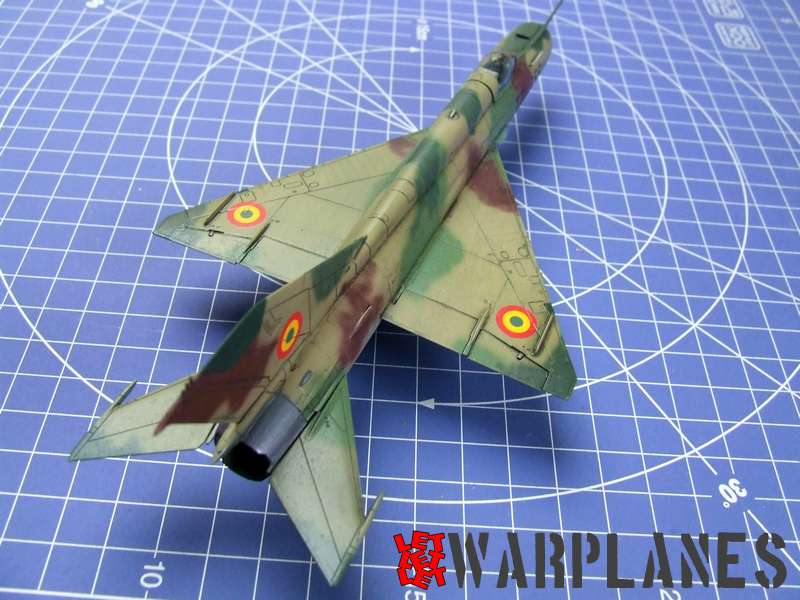
For painting Eduard provide several options, Polish machine no. 7600, CSSR machine no. 4017, DDR machine no. 784, Romanian no. 6721 and TZ-356 from Mali. MiG-21MF from DDR (East Germany) and Mali are camouflaged, rest are in natural metal color. My first decision is to make East Germany sample in two topside green color and light blue at bottom. In DDR, they were flown in two camouflage types, one with Brown and Green patches and another in two Greens. I check out photographs and find sample machine no. 784, it confirm its two Green color at the top. There is story why I decide to build East German version- long time ago, when we was Yugoslavia, was one article in our magazine, our journalist visited high ranked Soviet Air Force officer and among the many questions, he ask how was pilots of other countries within Warsaw pact. And when our journalist ask for specific country how their pilots are, Soviet office answered simply ‘horosho’ (good) and when out journalist ask how are East German pilots, Soviet officer answer ‘they love techniques’. This completely different answer capture in my memory and this kit provided nice options to make it as East German…
But to regret, I realized that I prepare it wrong. Sample machine I wanted to do and for which decals is provided, present on all photos I have, options to carry three fuel tanks, two at the outer wing pylons and one on central fuselage pylon. I place there pylons for missiles and I did not want to crash em, then sand place so I in hurry change idea and did it as machine flown by Mali. This is also attractive and from photos I have seen, machines from Mali used few different colors and pattern for camouflage, so take care when do this machine. This one have bright camouflage colors, with strong intensity, as seen on one photo available of the type.
Great kit in any aspects- details, easy to build, all available options. With this kit, Eduard also deliver some extra sets which will be mentioned in some close future. Big thanks to Eduard for sample kit!!
Srećko Bradić

