Roland C.II Eduard 1/48
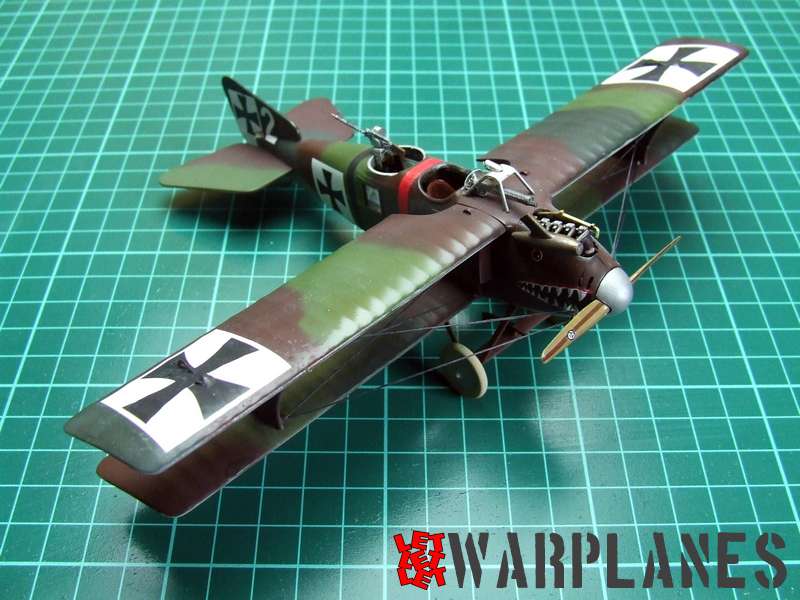
Among the first airplanes from WW1 who took my great attention and interest was Roland C.II. What make me impressed is description I have find and read as very young and that was notes from RFC pilots who say that it shoot forward, upward, backward, simply shoot from everywhere. Design of this combat airplane was interesting, it have fighter shape, good speed and good armament and with great success it served for some 13 months on front line. My real pleasure is to finally have this kit in my stash and kit is from Eduard.
This is a bit older kit from Eduard but still so good. It is in 1/48 scale, delivered as profi pack. There is not good content inside, three frets of grey plastic, one transparent, two etched sets (one with painted parts), protective mask, two sheet of decals and excellent instruction booklet. Kit stock code is 8043.
Work in interior is full time job here as well it have complex configuration, it include engine compartment and cockpit (with huge number of details inside). This airplane is of wood plank construction and I follow Eduard suggestion that paint inside in wood brown color. This does not mean that some kind of interior color was not used over wood surface too. I leave this area in wood in gloss shine, I guess that final protective coat was shiny. Interesting that many parts inside are in natural color, but also is used grey color for interior. Eduard did their best to enhance interior and I am so impressed by some elements like camera, it is greatly detailed with many etched parts over basic plastic part. Using of extra etched parts are easy, each goes on particular subassemblies and then goes together into place. I find no problems regarding fit of parts, simply all goes smooth.
As well it is a bit older kit, I need clamps to use to hold parts in place and also I need filler on most join line, fuselage and lower wing to fuselage. Before start join wings to fuselage, it is important to drill a holes where will be rigging placed and Eduard provide points where to drill a small hole. Interesting is that upper wing is shoulder wing so there is also possible to assemble top wing and paint kit like that, no struts to make problems as it is usual on biplanes.
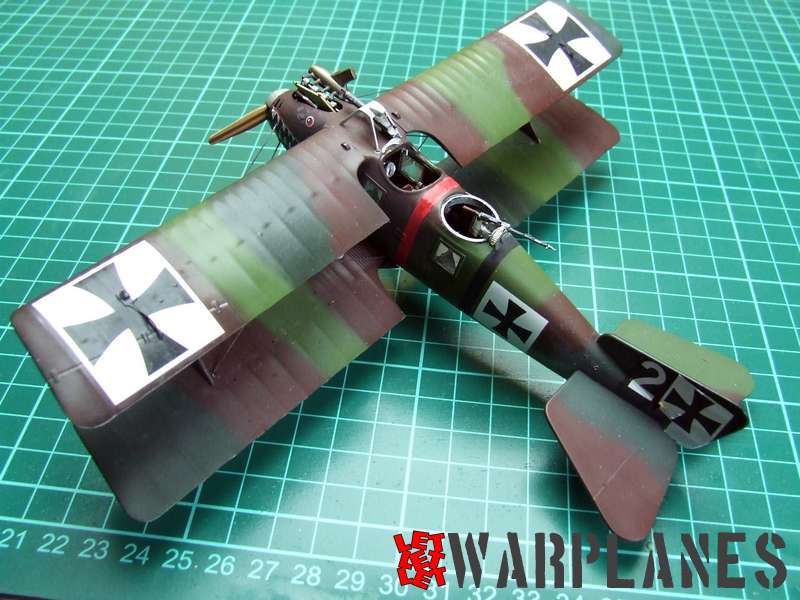
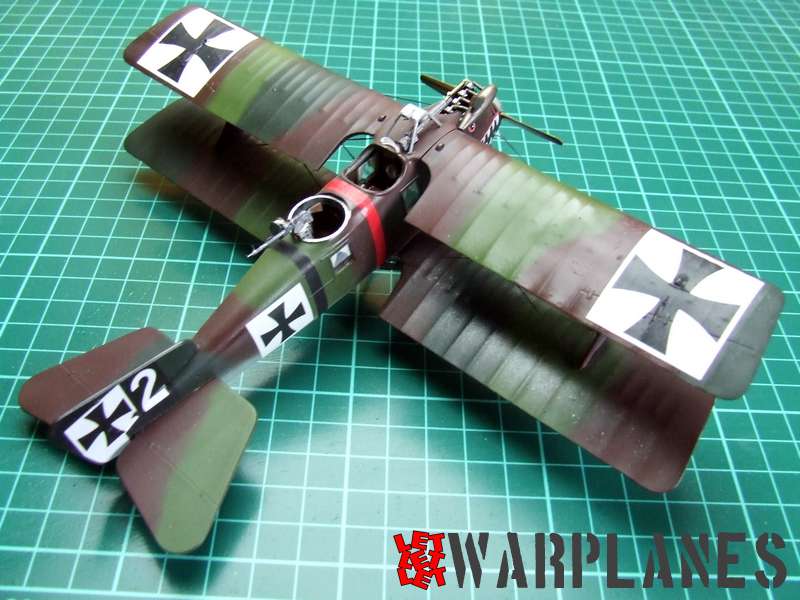
Very interesting paint schemes were provided with kit and I took one interesting with three camouflage colors at top and red and black band around fuselage. Colors are so vivid and it give interesting appearance to the kit. There is not much of decals provided for this particular sample and the same decal work goes fast. When that was completed, I spray kit in flat varnish and then make all riggings.
Machine gun
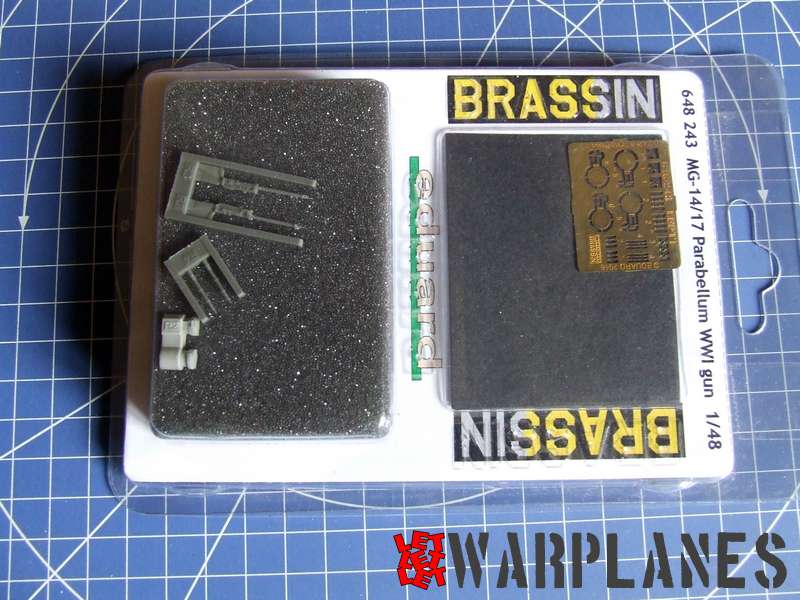
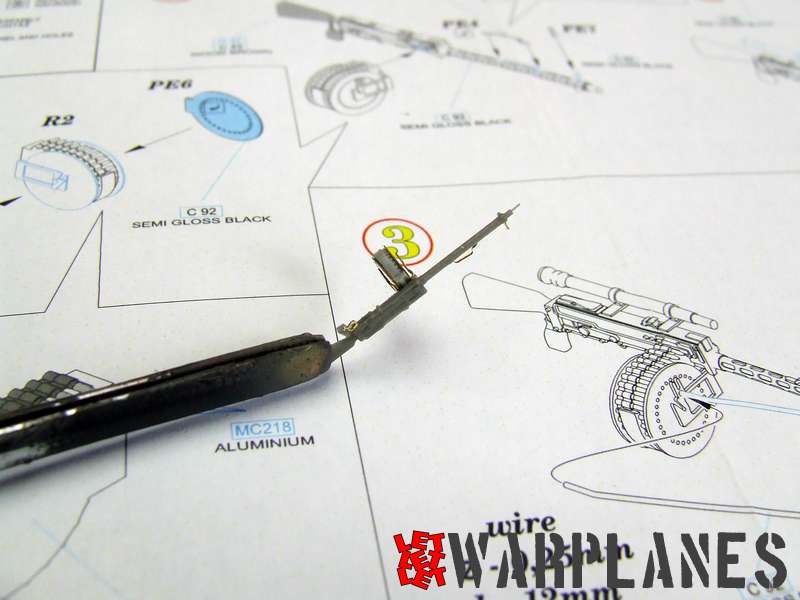
Kit have its own machine guns and they are good made but in this case I decide to use Brassin set from Eduard, no. 648243, MG-14/17 Parabellum WW1 gun. It is used as rear portion defense gun. This Eduard product is in 1/48 scale and it come in plastic case. Inside is parts for two guns, six parts in resin and a number of parts on etched set.
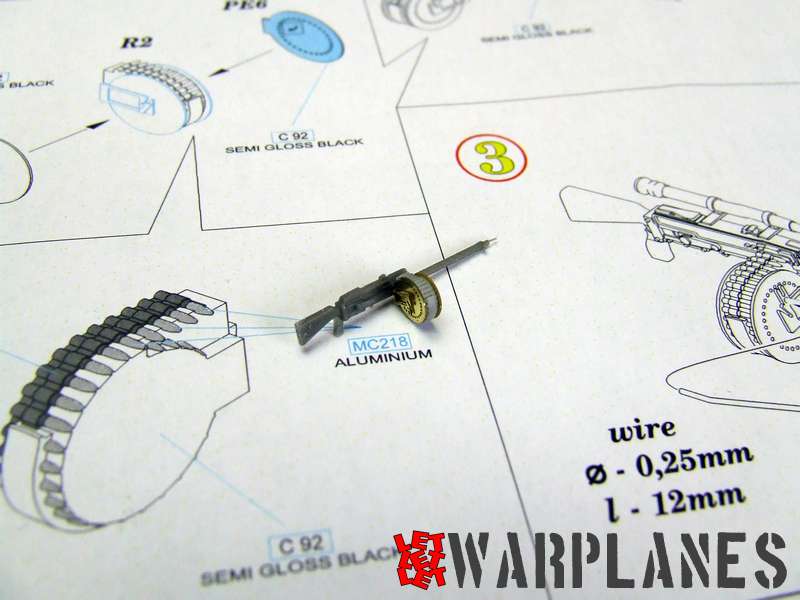
Work is easy but take a note that many parts are so tiny. I like details like trigger or front aim, small but good detailed. Final color is metal and wood on rear. This product is available here!
Final work
When all riggings are done, time is for final assembly. This include place few wire on rear fuselage, from gun, rear gun, landing gear, propeller. It demand some care and attention. Final look is impressive! Note that regarding to the production series, some details are differ on Rolland C.II and hope small gallery of details extracted from archive photos is of any help.
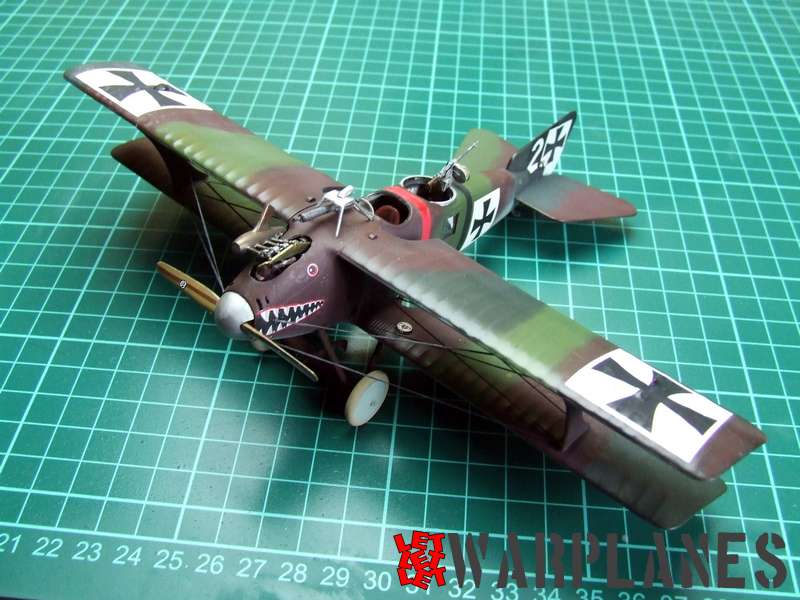
This kit is so nice to build and it have very good details as well painting options. You can find it with easy here and my big thanks goes again to Eduard for sample provided.
Srecko Bradic


