AIM-9B Sidewinder
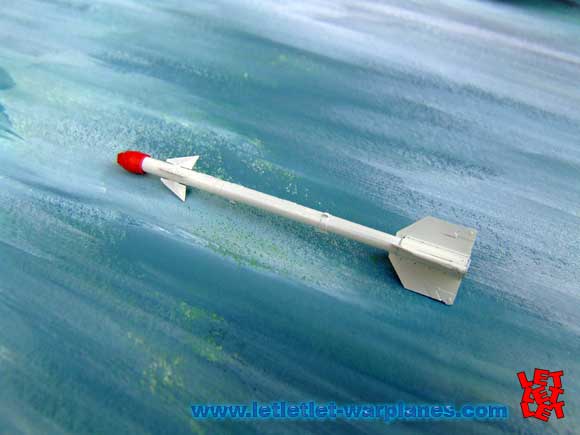
AIM-9B Sidewinder
[dropcap]A[/dropcap]IM-9 Sidewinder is the oldest air to air missile today and still very powerful. The initial production version, designated AIM-9B, entered the operational service in 1956 and was effective only at close range. It was capable only on attack from rear angle, not close to ground and due to the seeking head limitation it could also lock sun or cloud as it target. This missile is developed on demand of US Navy but later was also adopted by Air Force. On 24 September 1958 Chinese Nationalist F-86Fs fired the first Sidewinder air-to-air missiles to down communist Chinese MiG-15 over the Formosa Straits. They claimed some 17 aircrafts to be down by use of this missile. One of the missile did not explode and Chinesse MiG return safely home with unexploded AIM-9B so this become very soon Soviet copy known as K-13/R-3S missile (NATO reporting name AA-2 ‘Atoll’). During the early stage of Vietnam war, 1965 to 1968, 175 Sidewinders were fired and 28 kills claimed.

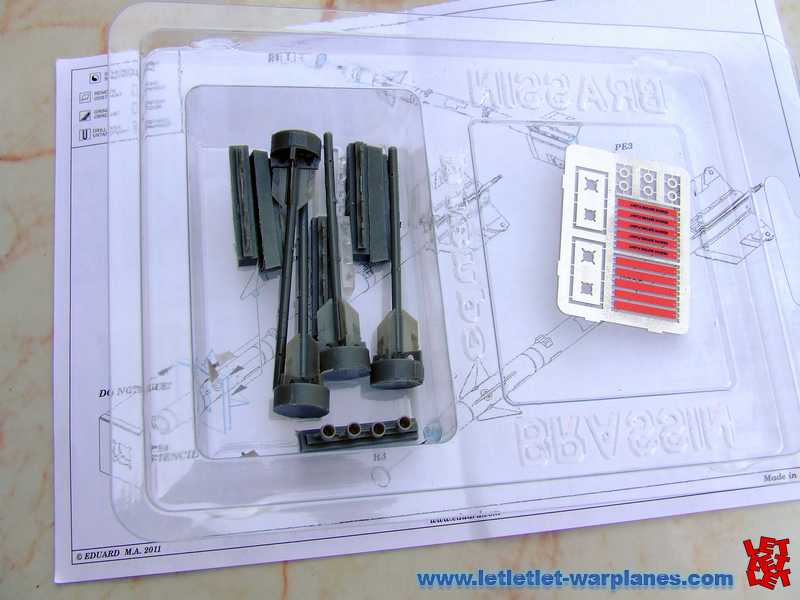
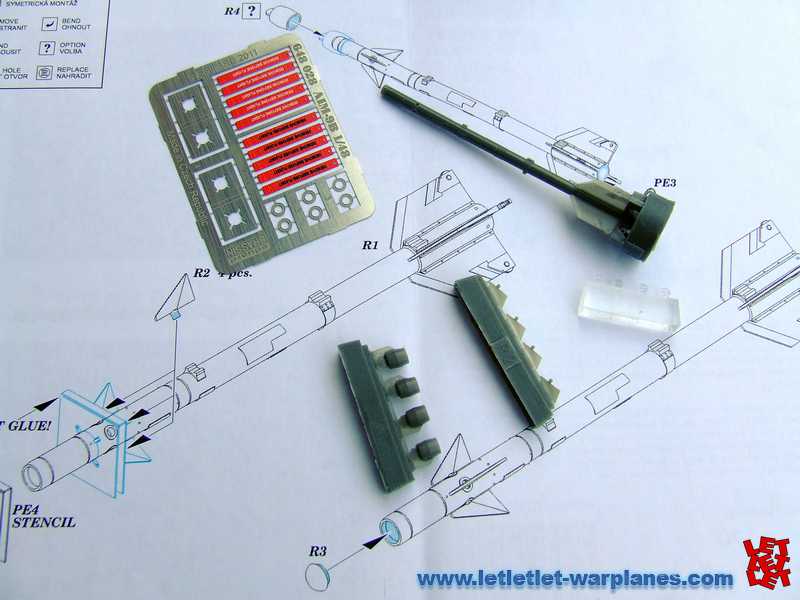
In their Brassin series of products, Eduard has launched this missile in 1/48 scale and kit item number is 648 028. Personally I am very satisfied user of this range of products but I have feeling that their products become better and better with every new release. As all of the products from this series, product come packed in the transparent plastic sandwich box with two chambers where is contained parts for the kit. I did not count number of parts here but you have parts for four missiles and they could be finished in two options. One is combat ready with transparent seeking head (casted in resin) and another is the stand by options where is head covered with protective cover (I choose this one). In this way you should also use Remove before flight banners and they are etched parts made and double printed!!! So no need to paint anything but the same missile body.
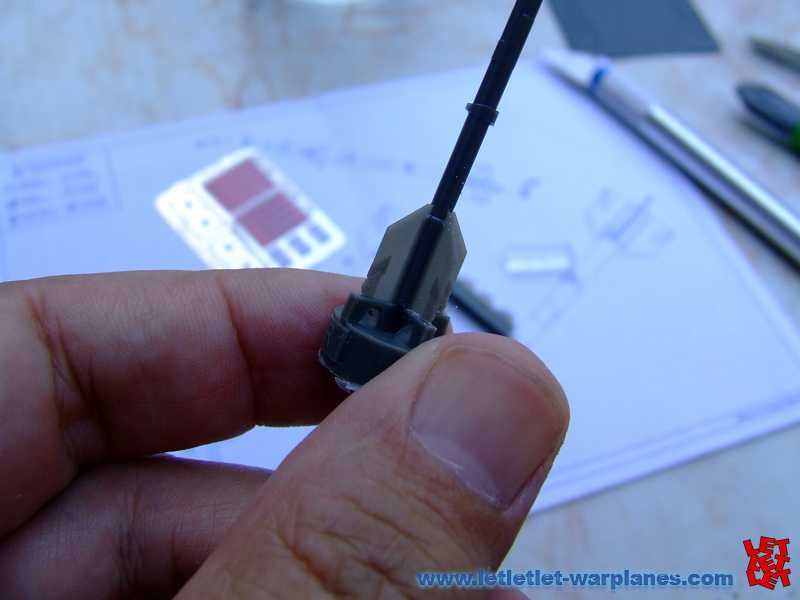
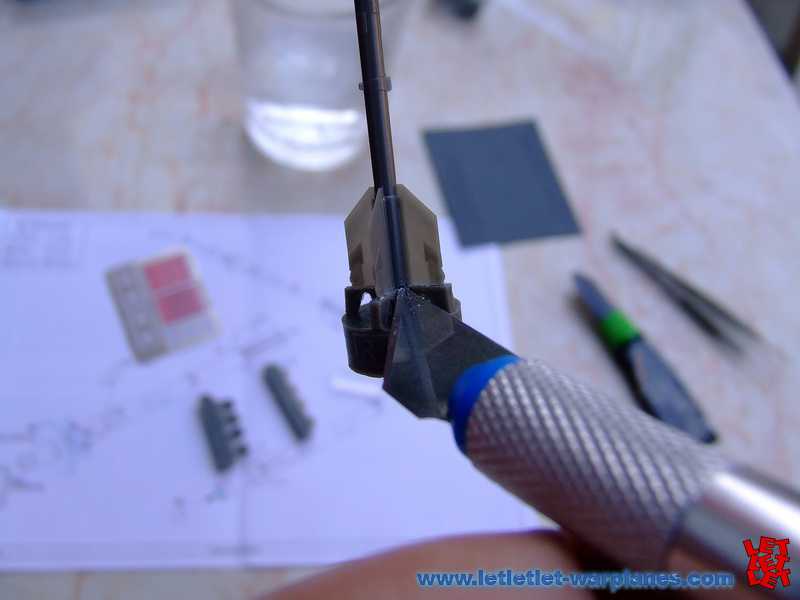
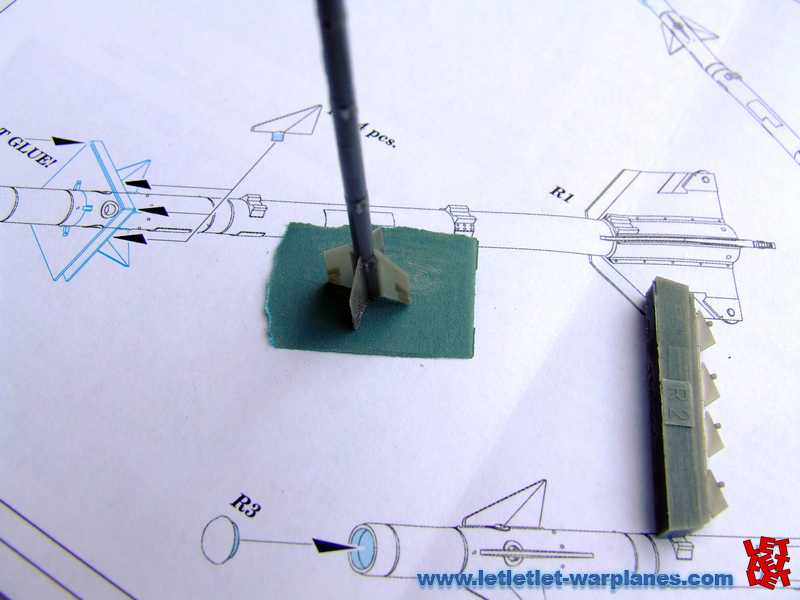
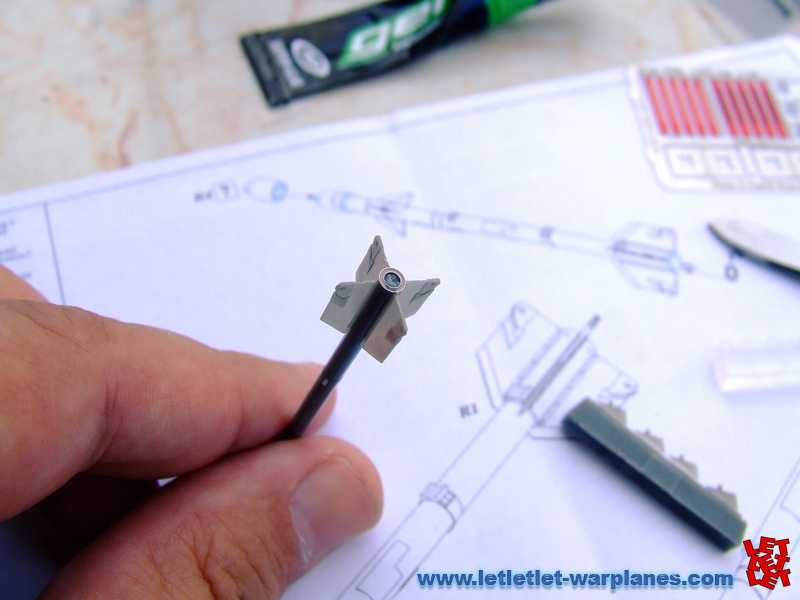
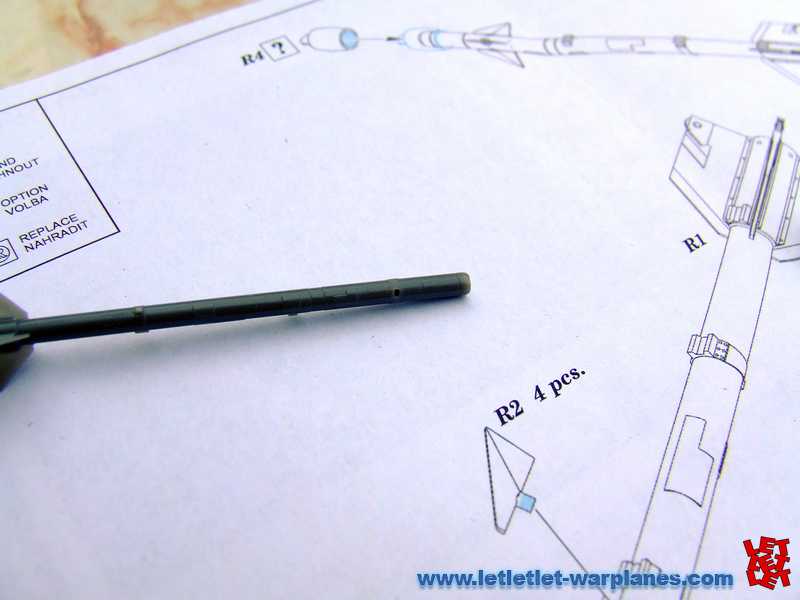
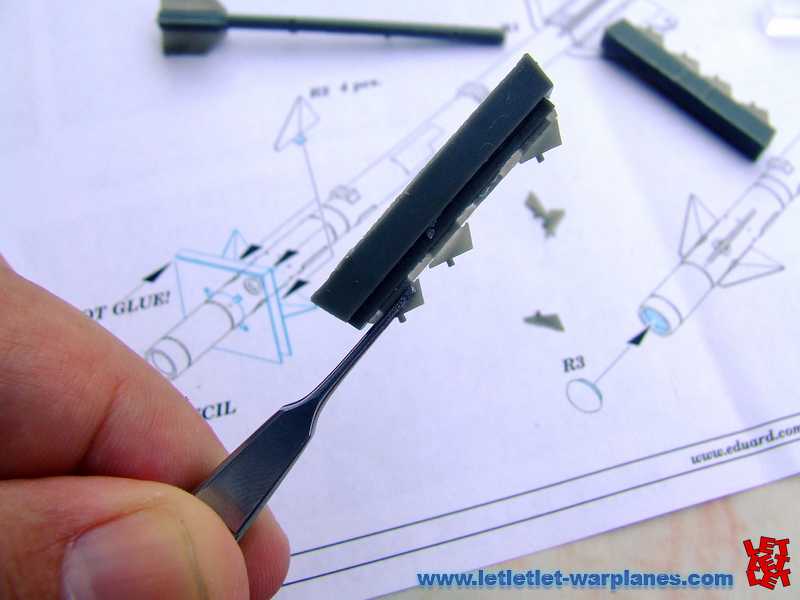
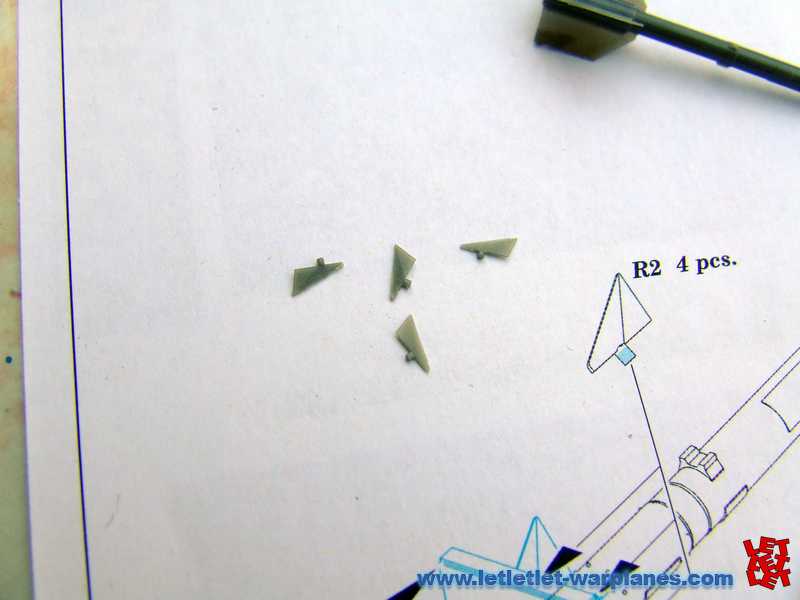
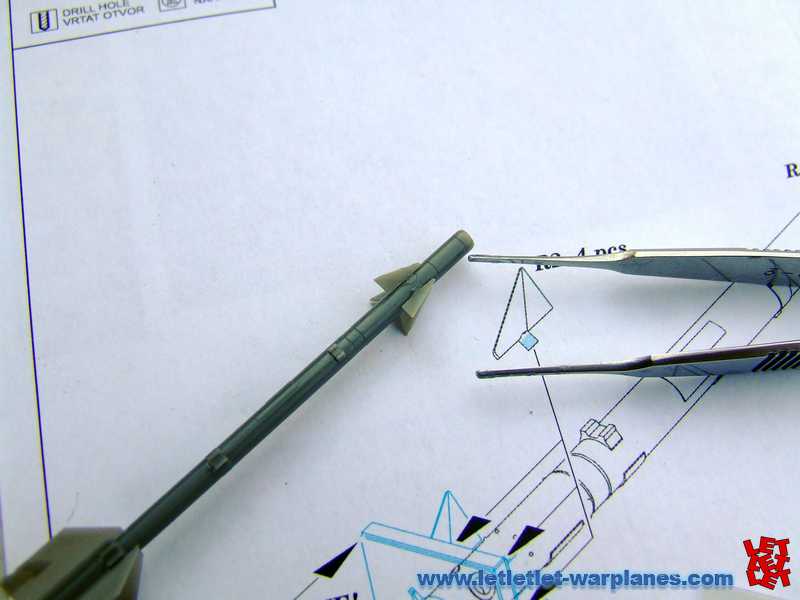
Work with parts are more then easy. All you need is the very sharp blades (well known surgical no.11) and some fine sanding paper (I use 1500 grit). Remove main body from cast base, first carefully cut stabilizers (they are so thin that they are almost transparent) and then from four side throw the blade to remove missile body from cast base. Then need to sand this on sanding paper. On bottom side cement etched ring which present exhaust of missile. On fornt side of the main body are four holes and there have to be placed small canard surfaces. Eduard provide small etched control toll which help to arrange them in proper angle but you don’t need that tool as well the same parts are very precisely casted. Just carefully remove control surfaces from cast base (make thin line with blade and then just twist it with tweezers) and put their pin in hole! Dimensions are very precise and it set in place perfectly.
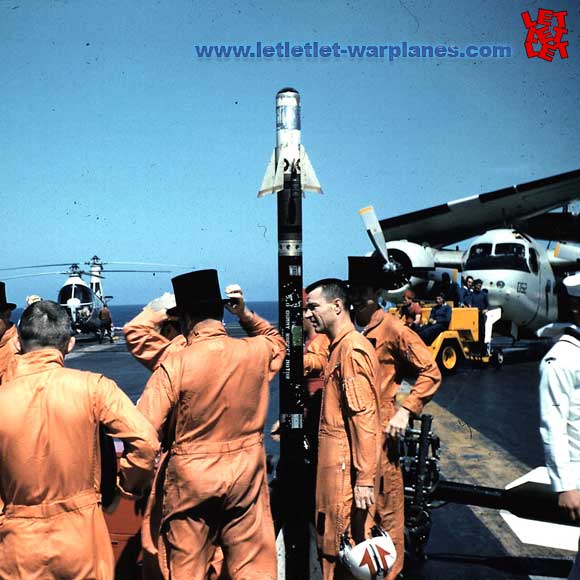
In most known cases this missile is white, I found some early Navy jets with this missiles which is in other colors. Also note that on stabilizers are small plates at the tips which are dark metal color in most cases. Many of this missiles were manufactured so you need to take look in particular aircraft where you will put missile before you apply colors. For the protection cover head I use red colors. All colors I use were Gunze Sangyo.
This is worth to have!!!
Srecko Bradic
Special thanks to Peter Wingard, former US Navy Aviation Electrician (AE-2) second class for his great help. Sample product is provided by Jan Zdiarsky from Eduard

