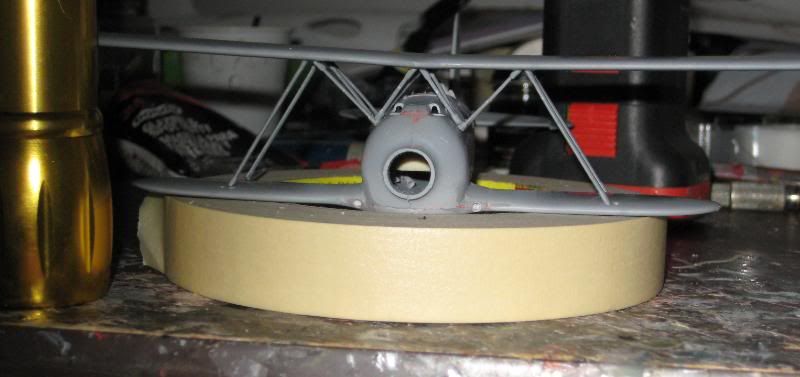
After reading some reviews and thinking about how to do this over coffee, I tackled the wing strut problem on the CA kit. Even though there are some locating pins and corresponding holes in the wing surfaces it was still a bit of a struggle. If you build this kit, be advised that the instruction sheet in my example shows the two inboard-most vee struts (parts B5 and B17, directly in front of the cockpit) upside down.
I started to build a fixture to align everything but finally simply tack-glued the fuselage struts to the upper wing. This was the hardest part since the cabane struts are the foundation for aligning the wing in all three axes. I used a tiny dab of ca glue on each attachment. I had to remove a couple of struts to readjust but with so small an amount of superglue it pops off easily.

Fiat CR.42 Group Build
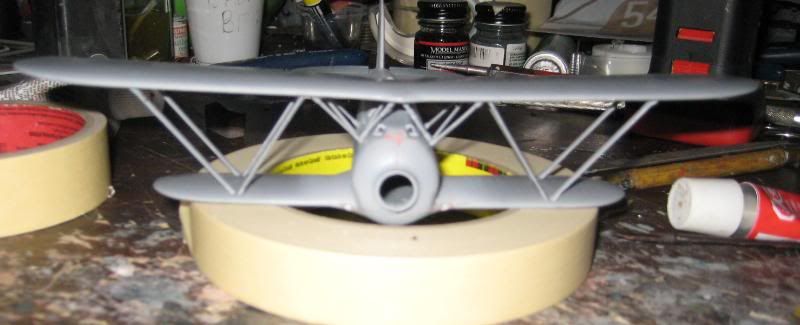
Then it was a bit simpler to install the outer strut sets, first the inboard pair, then the outers. To keep everything aligned I had to fill the furthest outboard strut locating holes in the upper wing and drill new ones inboard a tiny bit. Otherwise the lower attachments would be too far apart from each other where the inner and outer struts form the "V".
Fiat CR.42 Group Build
Fiat CR.42 Group Build
And the entire assembly after final glue application.
Fiat CR.42 Group Build
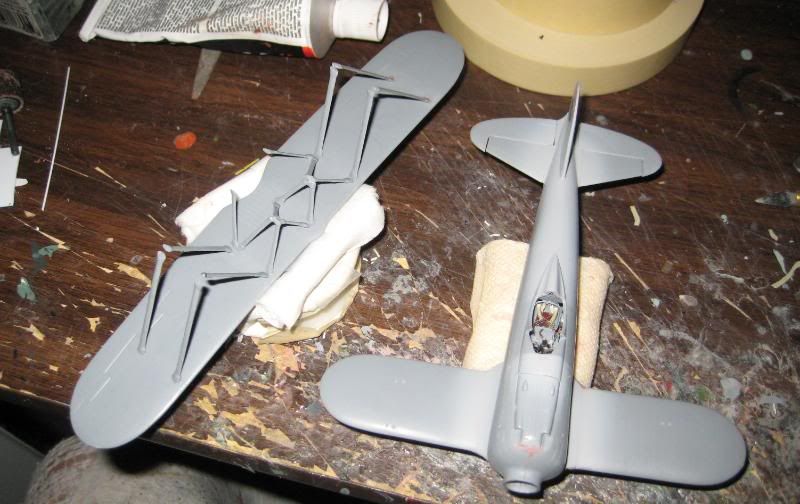
I decided to attach the struts to the upper wing in this fashion for ease of painting. Final assembly might be rather tricky, but it fits pretty well so I think it'll work. Make sure you mark each of the struts with the corresponding part number from the instruction sheet. Each piece fits only one position on the wing and if they get mixed up it will mean even more test fitting. I will be curious to see how the other kits in this build designed the strut installation.


