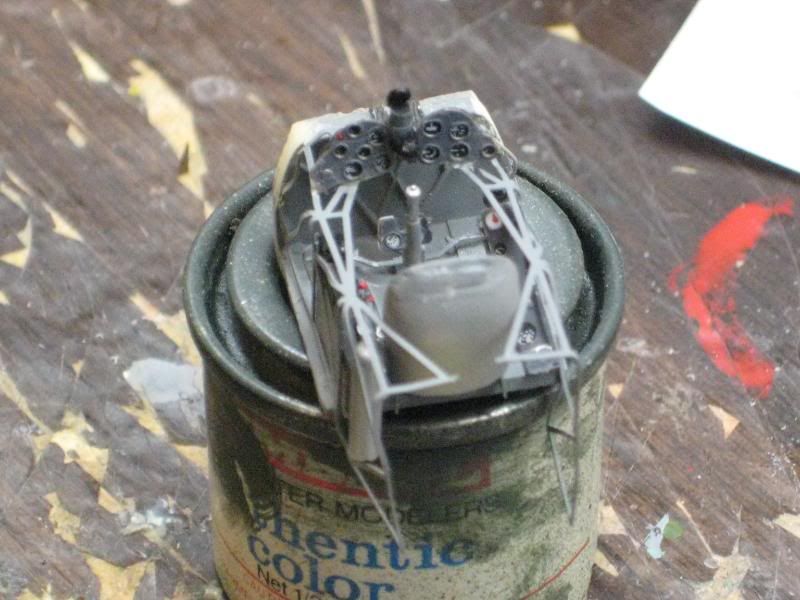
Nice progress, Profa. I changed the color tone of my cockpit after the first painting also. The surviving J-11 cockpit is a darkish grey so I used USAAF neutral grey on mine.
A bit of progress was made this evening which shocked me. The Classic Airframes cockpit doesn't fit all that easily into the fuselage. If you get the instrument panel halves properly attached to the cage structure and install the compass and gunsight the fuselage halves can't be closed because the panels hit the sides. I simply used the Dremel to carefully trim some plastic from the fuselage parts until a proper fit was made. It turned out to be a rather quick fix and so more got done than I'd thought.

Fiat CR.42 Group Build
Fiat CR.42 Group Build
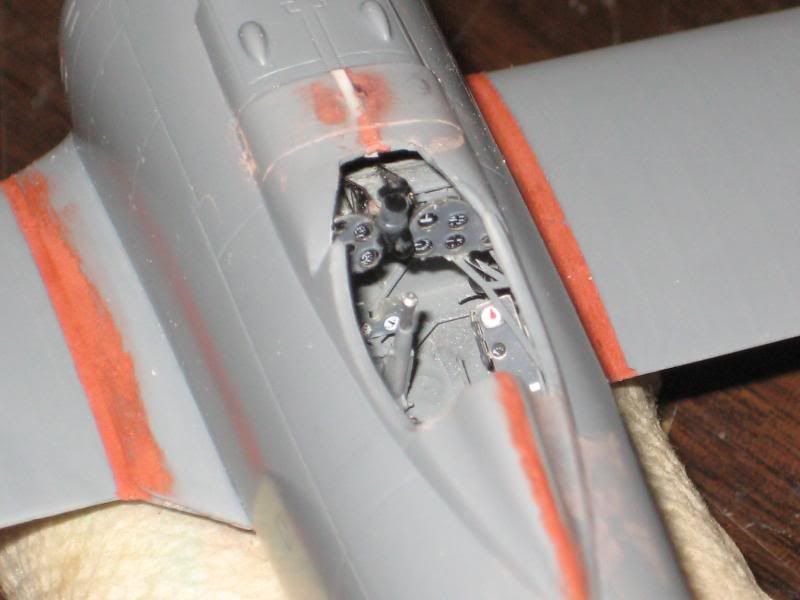
One small drawback with the CA kit is that the windscreen sides are wider than the fuselage opening. Other reviews I've read mention using a hair dryer to heat the perspex and then bending to narrow it. I didn't want to risk breaking the glass so I used a strip of styrene to widen the opening in the fuselage. I apologize for the photo quality but you can easily see the .030 strip in white. The windscreen fits perfectly now, and the gun cover that goes in front of this still fits very nicely.
Fiat CR.42 Group Build
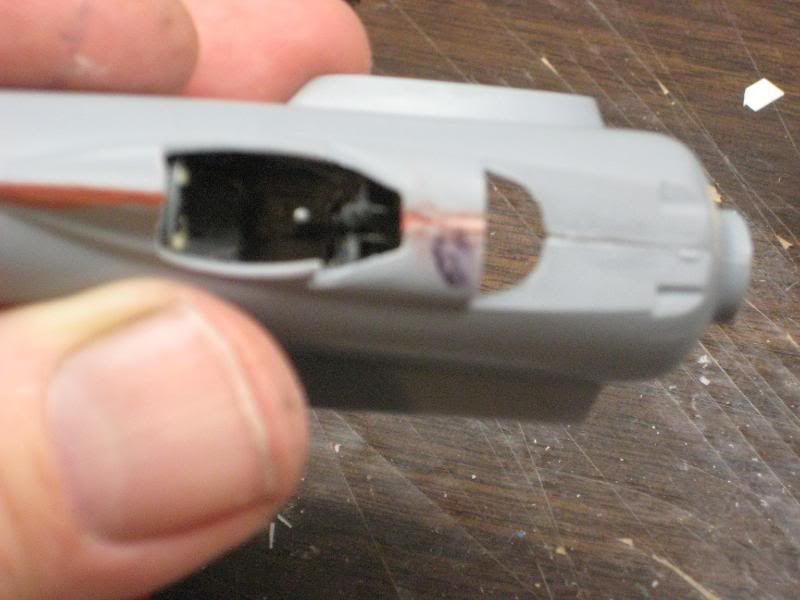
After fixing that little problem the assembly continued. The fit of most everything else is pretty nice for a short-run style kit and little filler is needed so far.
Fiat CR.42 Group Build
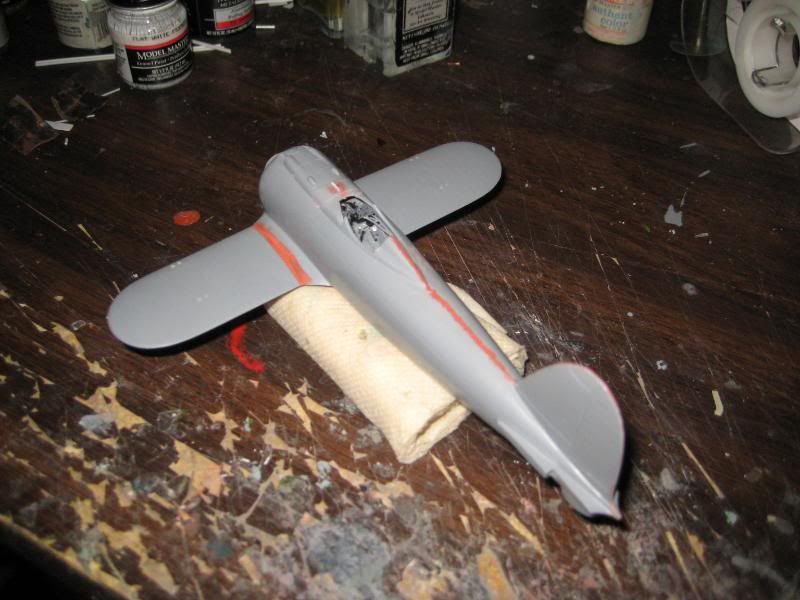
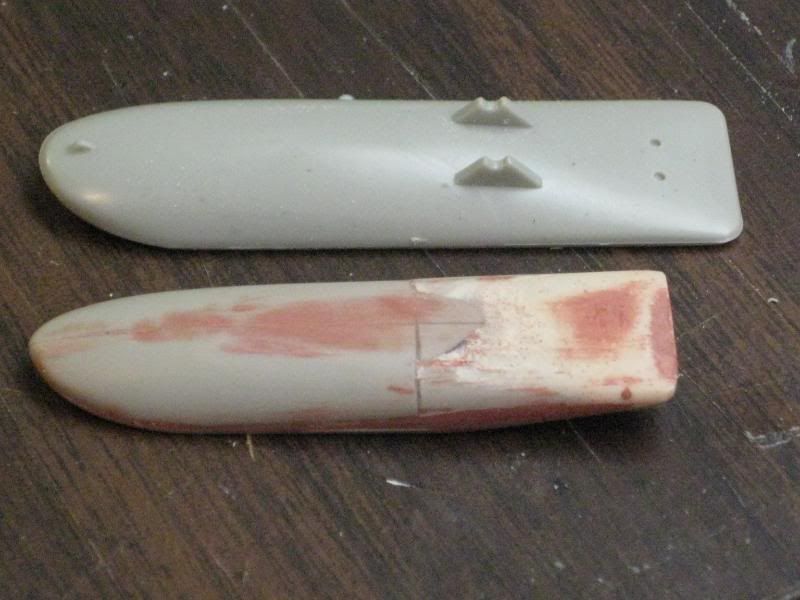
And, to finish out the evening, what would be better than a Falco on skis? I had a spare set of skis from the Accurate Miniatures Il-2 so one of them has been cut up to make this master for resin casting. It was quite simple--just split the ski lengthwise and spanwise to remove material, then the sides were built up a bit to deepen the ski and everything was glued together. Then a bit of resin was poured into the aft segment to level it and the whole mess was sanded to the final shape.
Fiat CR.42 Group Build


