I like the look of your new versus my old parts here!

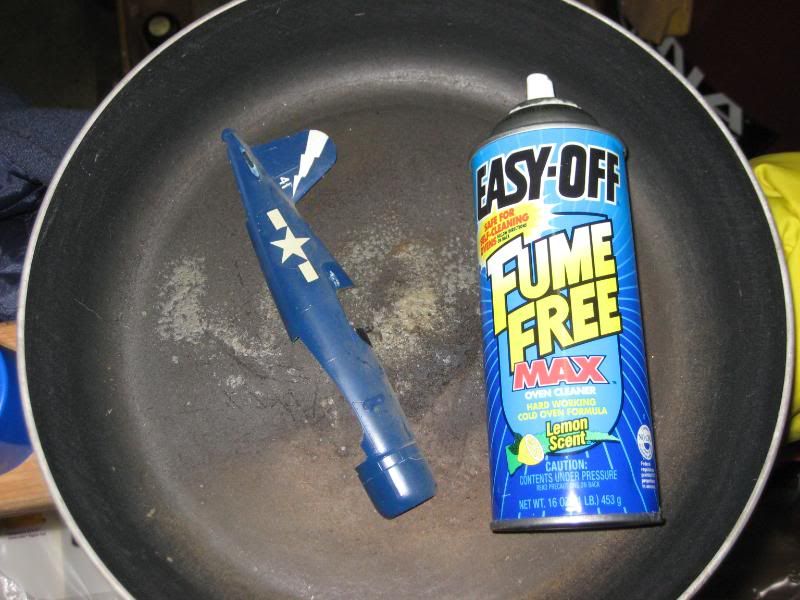
Here's the next step in my restoration build. After disassembling everything (except the outer wing panels, I left the halves together on these) it's time to remove the paint. These old Otaki kits have really nice surface detail with delicately scribed panel lines and fabric detailing and I didn't want to lose that by sanding. The best solution was EasyOff oven cleaner, a product I've used to strip paint on automobile models in the past.
A word of caution on paint stripping--always make a test on some part of the painted model that you could easily replace if the stripper ruins it! I take a gear door or something else you can easily scratchbuild and apply to that part first. If the test is successful, then the balance of the kit may be stripped. We have a thread over on WIX that addresses these methods right now:
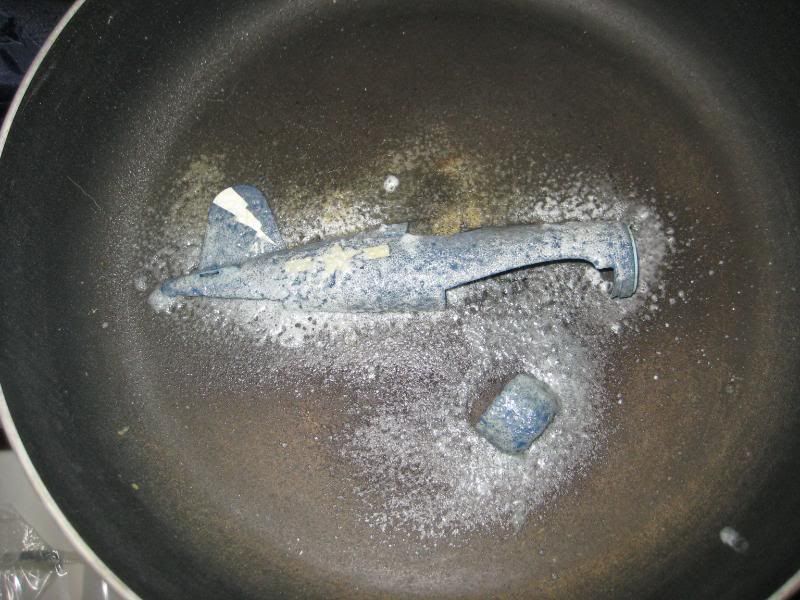
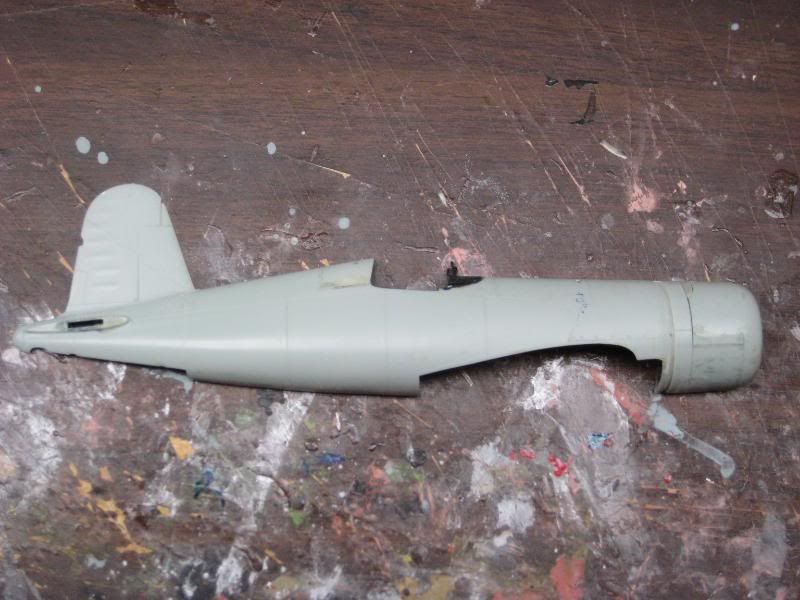
http://www.warbirdinformationexchange.org/phpBB3/viewtopic.php?f=15&t=40234So, I knew that EasyOff works on Otaki plastic. The next step is my "frying pan spray booth". I just put the parts in the pan and sprayed a liberal coat of oven cleaner on them. After soaking for an hour or so I washed off the residue and removed as much paint as would easily come off. A second application was necessary for most of the parts. When down to the primer I had to use my fingernail to carefully scrape the final bits of residue from the surfaces. Oddly enough, the flat black and interior green didn't come off of the parts. If I recall they were both Humbrol paints while the blue was Testors. This might be the reason the stripper didn't work.

April Group Build--F4U Corsair

April Group Build--F4U Corsair

April Group Build--F4U Corsair
"Fume free" is not totally true--this stuff stinks

and I recommend spraying it out-of-doors if possible.
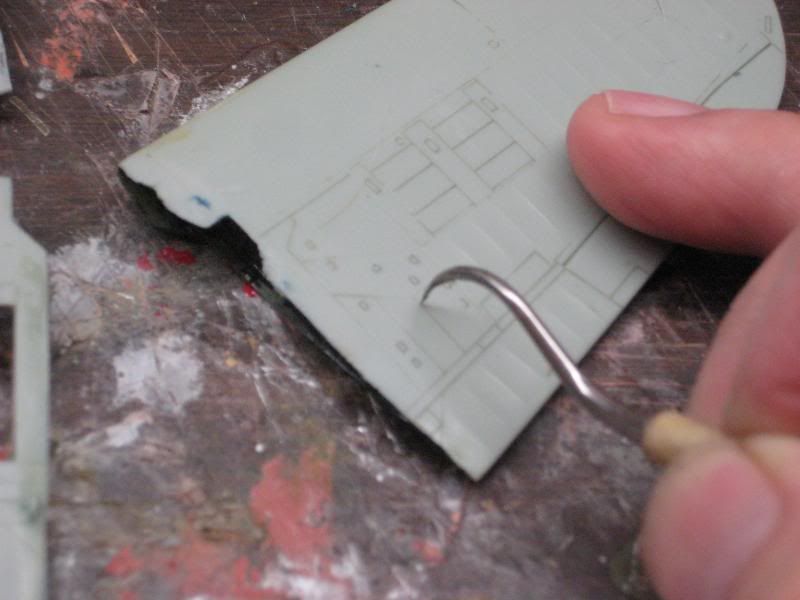
Once the paint was removed I went back and cleaned the residual out of all the panel lines by using my scriber lightly:

April Group Build--F4U Corsair