Eduard Hurricane 1/72
Hawker Hurricane was British first modern fighter plane to enter service and it is admired as true hero of Battle of Britain. Many famous aces flew on this type and many countries operated this fighter airplane. No wonder why this kit is subject of many airplane kit manufacturers and it is covered in any scales. Arma Hobby is one of this manufacturers and Eduard make wise decision to select this kit for its own limited edition product.
This kit is in the 1/72 scale and comes as Eduard ProfiPACK edition, with stock number 7099. Cover art is so beautifully made, it shown Hurricane flown by famous ace Petl, in attack of Italian Savoia bomber. Content inside is nice assembly booklet, two fret with plastic parts, mask for transparent parts, two set of etched parts (one is painted) and transparent film (primary for gun sight). Not to forget two decal sheet, one for stencils and the another one for unit and national insignia. Build start with preparing plastic parts for cockpit and it is more complex then I expected, this make kit so rich and detailed but also not affordable for non experienced modelers. Note that many elements in original parts need to be removed and then replaced with photo etched parts. Some etched parts can be placed in place and then painted together in basic interior colors and some will be used later. Most impressive parts are those who make frame construction inside cockpit. They are used over side cockpit walls, but also under seat. Use of them demand a lot of care and precision, as well they also contain etched parts over it. Need to do many dry run before finally close canopy. Base interior color is Grey Green.
Wing is next set in assembly, landing gear is first at all to make it. It consist from two parts who creates frame which is actually side walls of landing gear bay. There comes several parts, one plastic bottle and three etched part over it. Interior there is in silver color. Landing gear is so simple, just two legs, who goes precisely into its pin holes at top part of wing. I did not try is it possible to insert landing gear legs after wing assembly, but I guess it is possible. Once landing gear parts are fit inside, wings are closed, with merging top and bottom parts. At top of wing central section are space for cockpit bottom elements, there goes first ne more frame tubular structure, with two plastic parts there, leg controls and pilot stick. Bottom is in Grey Green color, three parts which goes above are in silver.
Now we have entire fuselage and wing assembly elements, who have to be joined together. And from that moment need care in selection f parts, as well due to variants for final painting, in some cases differ used parts. So take care. Alongside with wing fuselage assembly, need also to place tail elements, horizontal and vertical tail and at will, tail wheel, main landing gear doors and main wheels. I say at will as well those elements could be separately painted and place at very end. But what you can put in that stage, is the main leg struts, two parts under number 30. Cooling system is the next and several parts are there replaced with etched parts, two are for radiator and one replace segment on cooler body with etched one, which is flap.
From assembly section F start choosing of parts variations, depending of sample airplane you have to do. This F section is propeller assembly. My choice is easy, entire spinner wit propeller are black so no problem to make it all, but some samples have Sky spinner, so better to paint it separately. Even three versions of propellers/spinners are covered and appropriate parts are in box. Propeller blades comes as individual parts there, spinner coms as front and back parts. Some later you come upon section H, so choose what type of air intake you will use, standard one or sand filter type. In next step is proposed to put on kit assembled cooler, air intake, engine exhaust, assembled propeller and some transparent parts.
Last assembly is dedicated for cockpit and canopy. Area is small but include many small parts, mostly etched. Cockpit canopy have two options, open or closed, so this mean different rear slide canopy. Choose it before continue with apply of small etched parts over it. Etched parts also goes on gun sight, one at top and small transparent foil on front side. And result is very authentic for that scale. Put all this elements in place, cement it and kit is ready for painting.
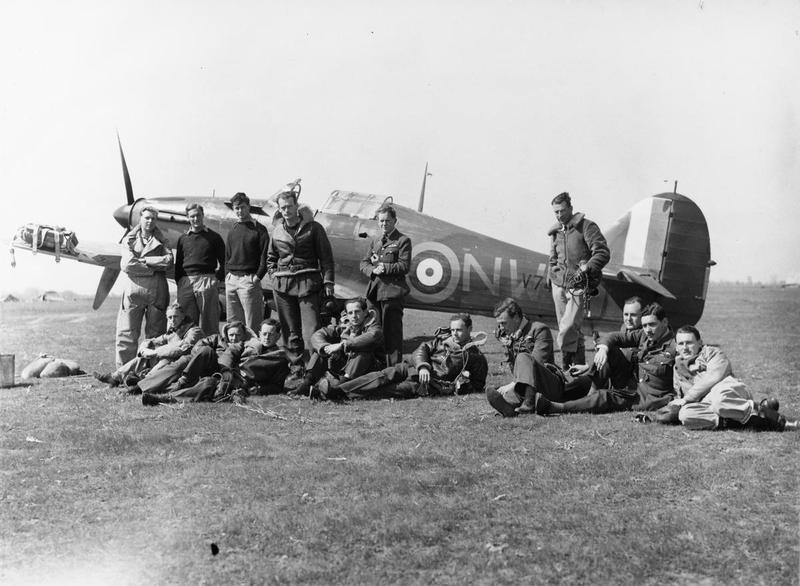
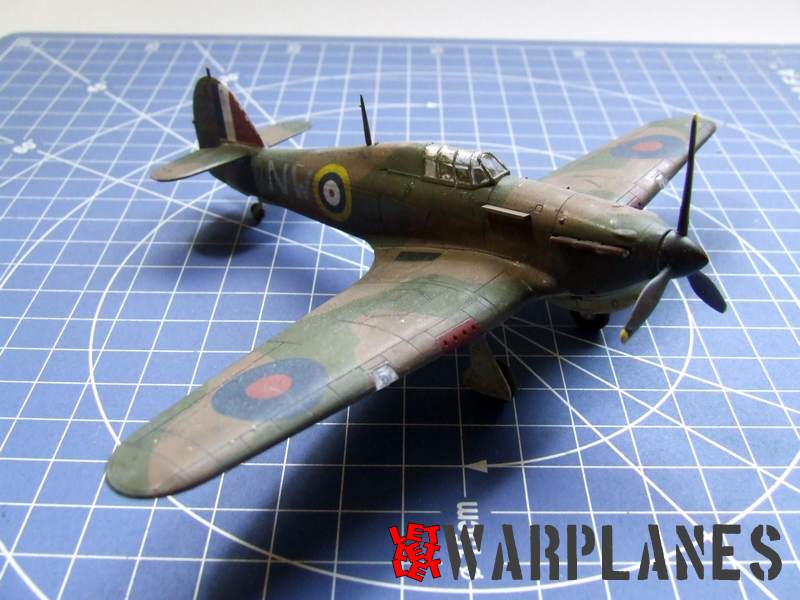
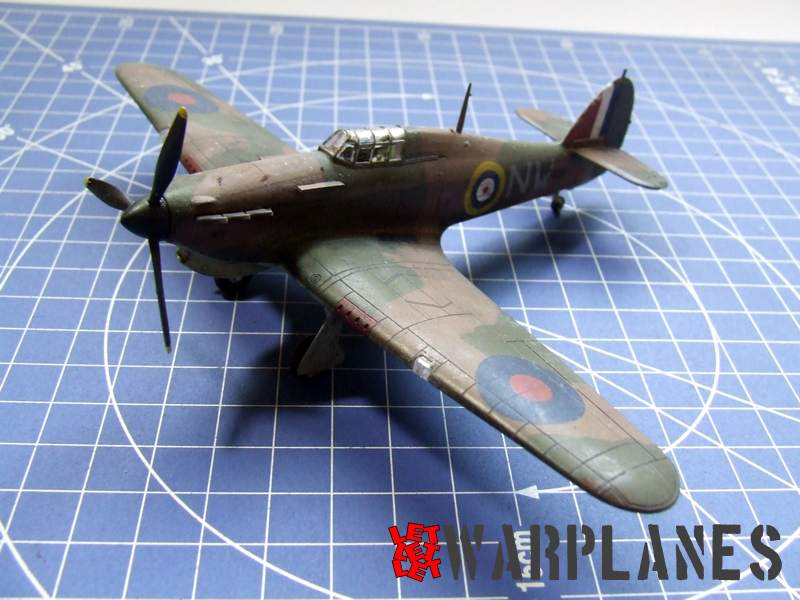
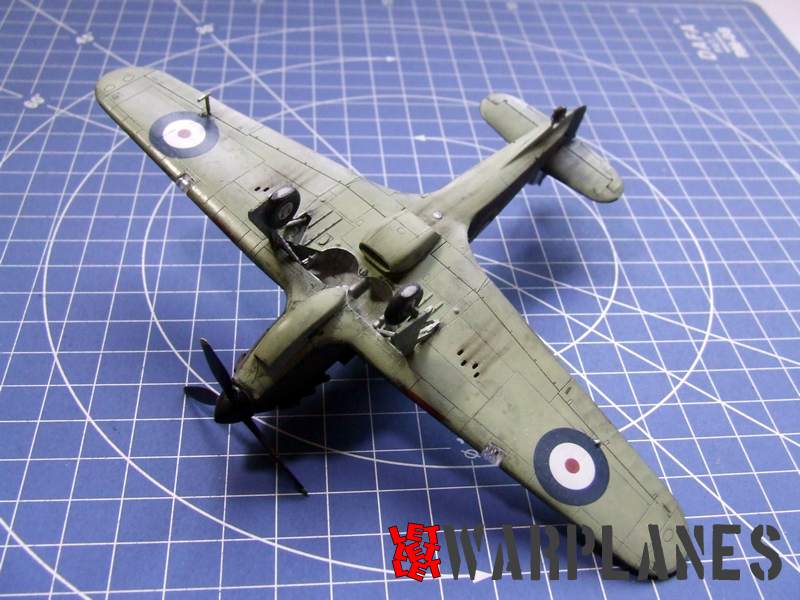
My choice for painting fall on sample machine flown by S/Ldr Thomas Marmaduke Petl, CO of No. 33 Squadron. He flew in Greece and sample machine V7419 was at Larissa, period March/April 1941. His total was 52 air victory before he was killed in action and his body was never found. His Hurricane was in standard continental camouflage, with Dark Green and Dark Earth at the top and Sky at bottom. Spinner was all black. Interesting to note that all Hurricanes in this Eduard kit was painted in similar camouflages but the one, under paint option F- that one is almost entire in blue camouflage, so that could be also interesting and attractive.
Kit is worth to consider for build, parts are crisp, assembly easy and surface details are excellent. I have took just general look on technical drawings I have, and kit more or less fit but I did not took any measurements. With all elements designed and provided by Eduard, kit is so rich and build is more or less easy, does not require so much time to complete it. Definitely will recommend this kit and hurry to pick it up, it will not last forever! Big thanks to Eduard for this sample kit!
Srećko Bradić


