Eduard Fw 190A-4
Since the 2008, when Eduard released their first Fw 190A in 1/48, I have built many of them, at least I follow main editions of their line. When I seen announce of their Fw 190A-4, I thought that this is just new box, all will be as seen before. But I was wrong… it is brand new kit, not in term of date of release but also in design of the kit.
Kit which surprise me is their Fw 190A-4, stock code 82142, ProfiPACK Edition. Inside nice decorated box is six frets with plastic parts, one transparent, instruction booklet, two decal sheets, one sheet with etched parts and quick mask. But look on the parts do impress me- two types of propellers, two types of wheels, two types of rudder, even three types of wheel bay inner cover!!! They definitely do some serious research, I never had idea that inside Fw 190A was three type of cover! Amazing!
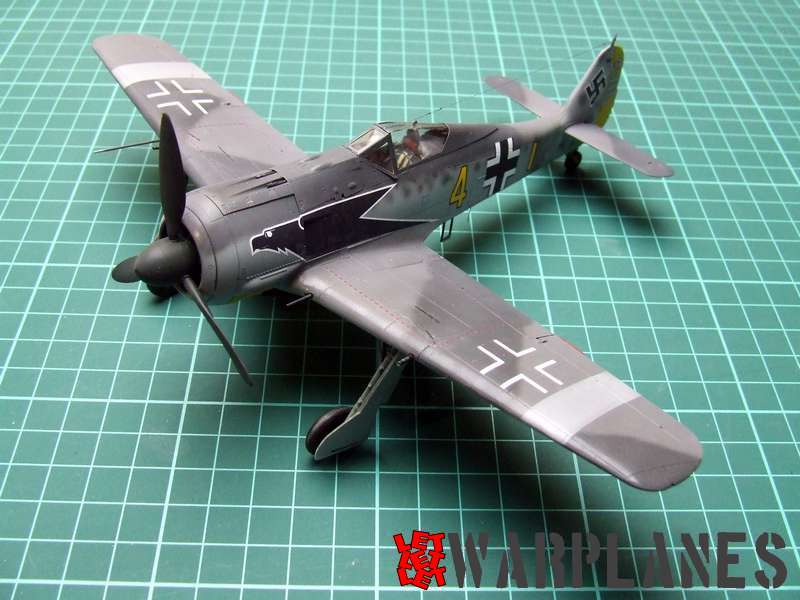
Built is also not the same as on kits before. All right, it do start with cockpit, paint, place parts, put etched elements, put in fuselage… but the same kit is different in many aspects. Front fuselage, on old kits there was entire engine and guns and this was complex section to do, demand some build experience. Now it gone, it is empty from many parts, no gun bays, no guns, engine is so simplified. This is for me great movement as well it make build faster and easier, this kit make it easy to build even for less experienced modeler. In same time, it does not lose in detail and accuracy.
Wings also get change, in past, we had wing root bays and we can decide to leave it covered or to open and put inside details it need. Now, it is covered and you fit it with easy, no need to work with cover. Join of wings to fuselage is so easy, Eduard definitely did something in refining of parts, assembly is somehow easy then in older version, I had feelings that parts fit to each other by it self. Ooo yes- pilot stick was not completely mold on my sample kit, this happen in production so- Eduard, I want one beer for replacement!
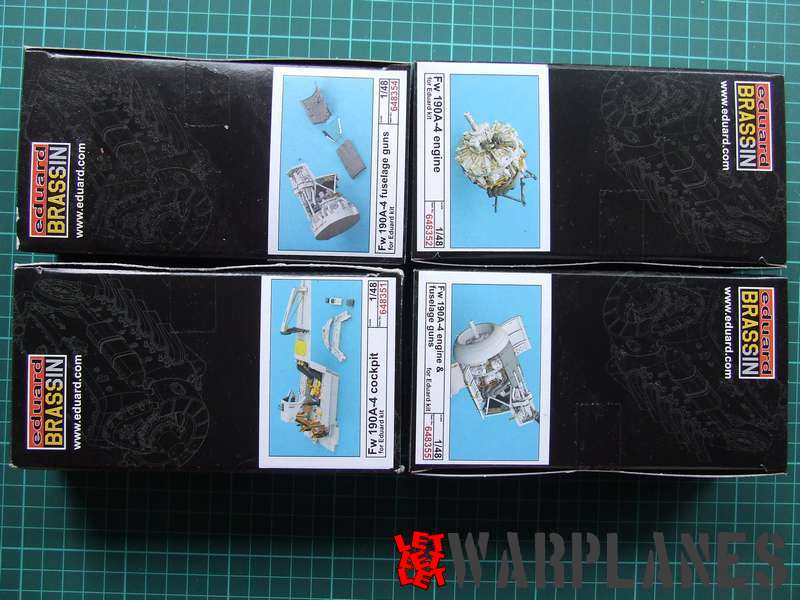
Read assembly booklet before start build as well there is variation in parts use in regards which paint schemes you will choose. There is difference in details, not so hard to follow them. As usual, I do not do all as say in instructions, some things I change. In this manner, I left wheels and propellers to be painted separately and placed at the very end of build.
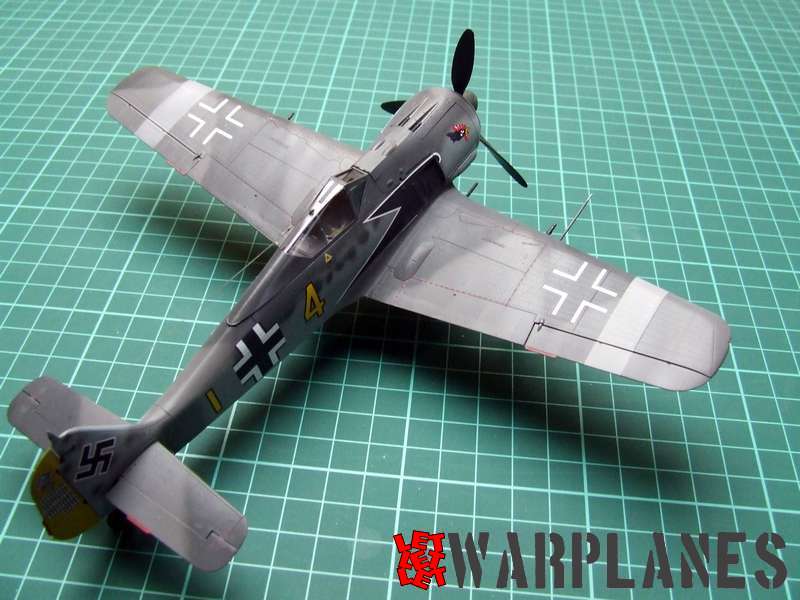
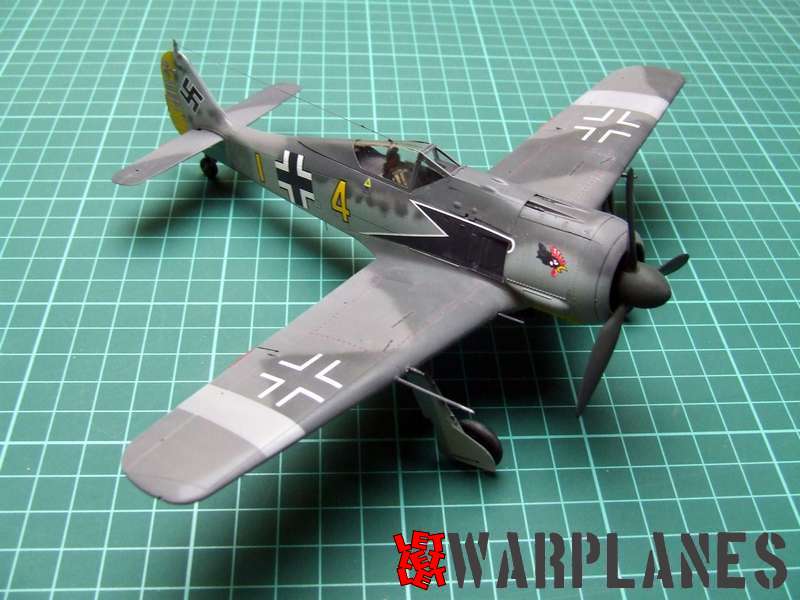
My choice for final painting was sample machine from JG2, flown by Oblt. Schnell. No idea why this one as well all schemes provided in instruction are nice and attractive, Trautloft machine in winter scheme from east front, or JG2 machine from Tunisia in desert scheme, one more JG2 machine flown by Fw. Eisele or machine from JG 54 from east front in very attractive temporary scheme (nice chance to use John Deere green for camouflage).
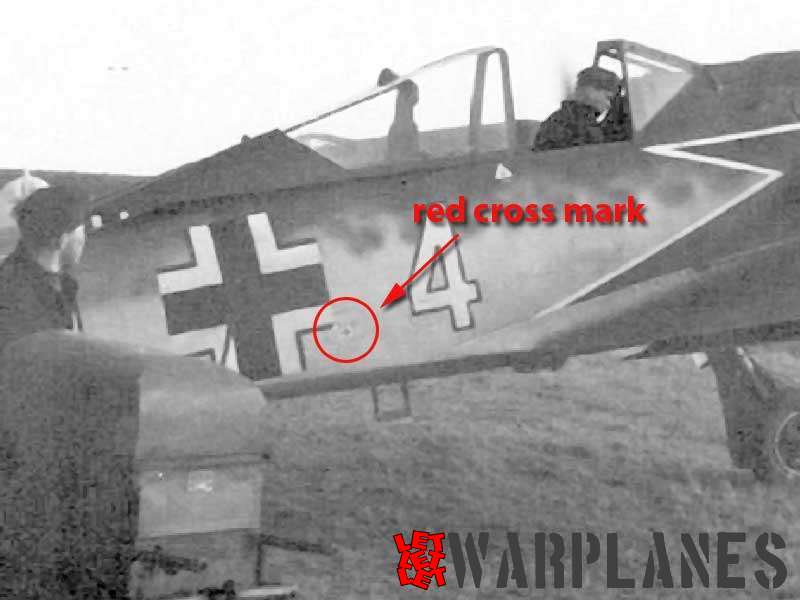
Machine I make is interesting as well all photos I have seen present it so clear and it is not good choice for those who like to built war worn out crafts. Even rubbers are clean, obviously that machine was wash and clean and put on grass for few photos. Only one detail I have note is that it have no yellow triangle on the port side of fuselage and it have red cross mark on starboard side. This decal was not provided in kit decals and I forget to add it from spare box (I guess I get older…). So if you decide to make this kit, add this cross mark, don’t be like me.
Eduard– excellent job!!! Just keep like that, it is perfect job!!! Easy to build kit, very detailed, surface details and rivets all in place, precise and nice. Nicely printed decals and attractive paint schemes, this kit is more then welcome on everyone work bench!!! All right, not only this kit, coffee, tea, beer, candy are also welcome, they suit perfect to this kit. Big thanks to Eduard for sample kit provided and if you decide to have this one too, go here!!! Yes, you want it, go!!!
Srecko Bradic


