Riders in the sky
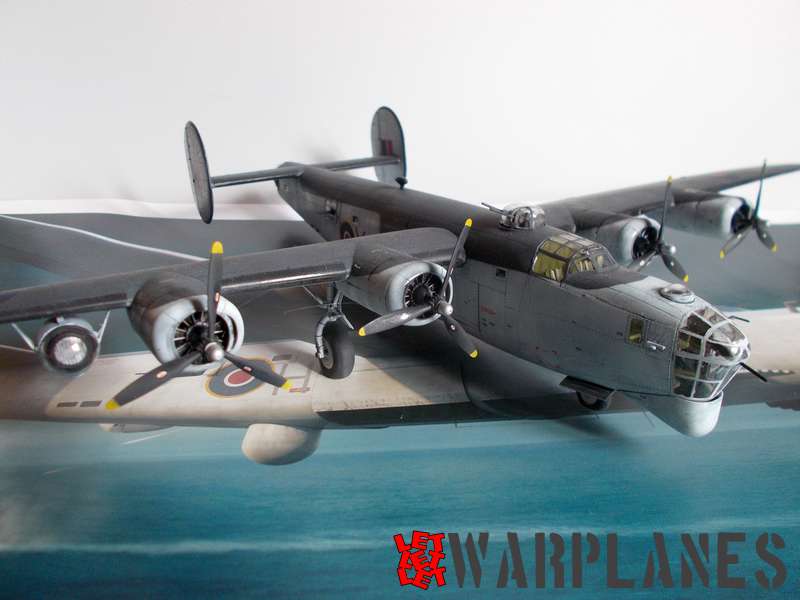
Weight is the first thing come on my mind when mention B-24 Liberator. This is main problem in narrow nose space and in the situation of Eduard Liberator, this is not problem. Liberator is popular subject for Eduard and in last years they released few sets of this kit, last one released this year are based on Hasegawa plastic.
Anti submarine warfare is subject of this kit is 1/72 scale. Stock code is 2121 and it belong to the Linited Edition kits. Content is so rich, apart from basic Hasegawa parts, Eduard also released their own injected platic parts which provide extra options in kit build. Total of 16 frets with injected parts is in box, plus fret with rubber, protective mask, etched sets (painted elements) excellent printed decals, very good instruction booklet, big poster and best at all- book of Liberator!!!
Eduard has unique power to provide in some of their projects free books and this make em absolute leader in modeling. Book name is ‘RIDERS IN THE SKY 1944’ and authors is Pavel Turk and Pavel Vančata. Full color book, soft cover with 76 pages inside. Subject of the book is same as kit, Liberator GR Mk. III and Mk. IV in RAF Coastal Command service. Text is in Czech language and book is full of excelelnt archive photos, illustrations and maps. And good chance to learn Czech language.
Kit is complex to built as well it is very detailed and big. The very start is with the frames and floor which creates bomb bay and crew compartemnt. But before start, please study carefully what sample you will going to build as well there is variation of build provide and they depend from version to version. Each step is very good explained, no confusion at all. Sections are good designed, so first to be completed is fuselage but without nose, nose are to be made separately and attached to the front fuselage. Parts geometry is excellent so no gap when match sections. As say in very start, there is nice space to puch weight, lige nose landing gear bay, area in front of fuselage so there would not be problem to properly balance kit.
When fuselage is assembled with nose, next to go is attaching of the tail as well completing of the bomb bay. Bomb bay is so detailed but I did not see they provide options how to mount bombs inside (they are available in kit parts). I have closed this bay as well this is one of the options in build.
Interesting that Eduard did not provide any Brassin parts inside but this does not make kit any less detailed, for excample engines are good enough in details and easy and fast to assemly. Maybe most complex part to do is the gun turrets, they are excellent designed but need care as well transparent cover are made from few elements and there is real need to care when cement them, to avoid cement leak. Variation in build also include rocket missiles on front fuselage as well radar aerials.
Most complicated part of build could be masking of the transparent parts. They demands care, concentration and time. I am just wonder how this job would look like without Eduard mask. One entire page is dedicated to masking, so every transparent part is cover there.
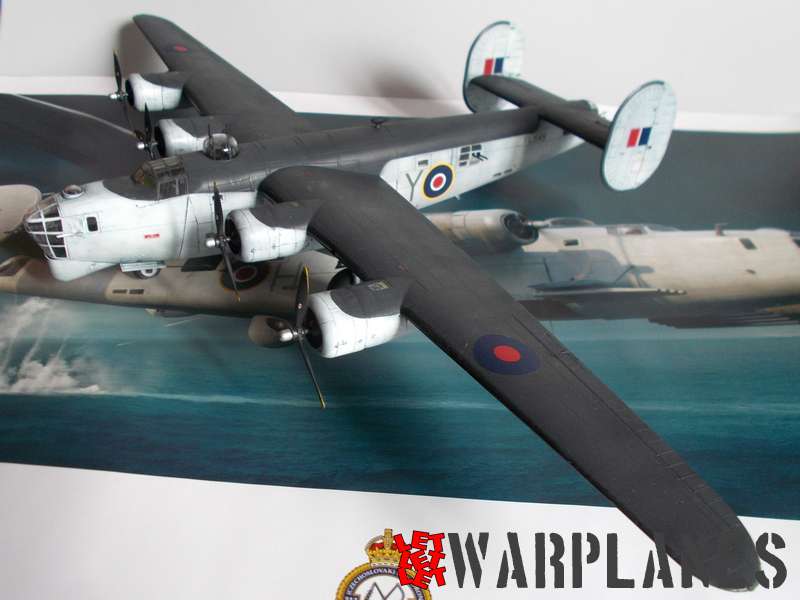
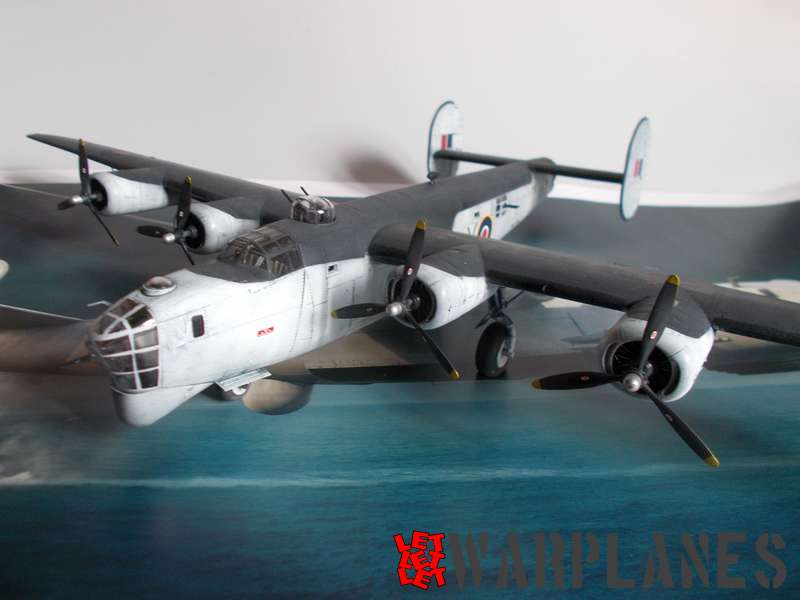
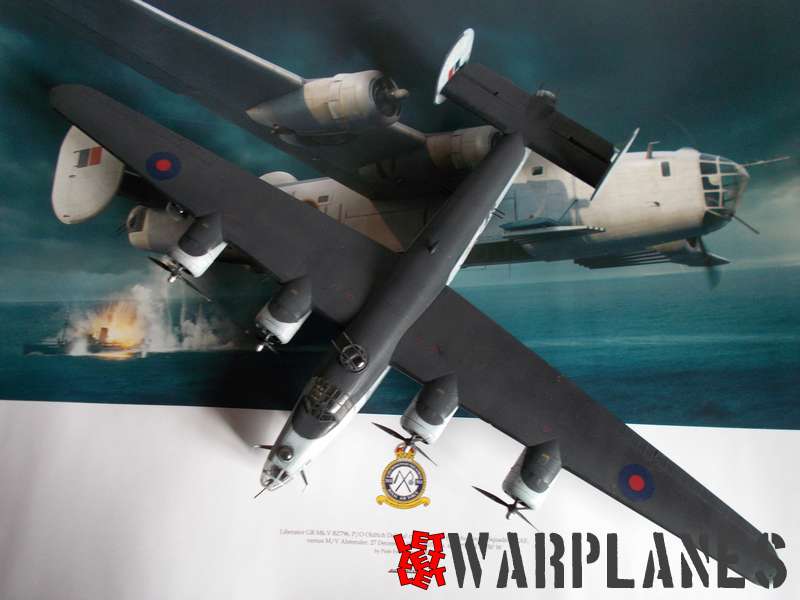
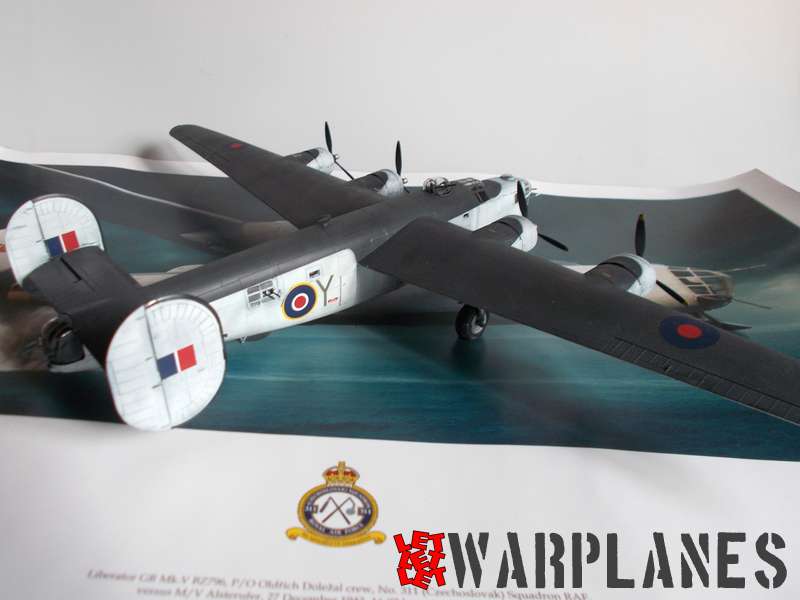
Final choice to do is Liberator GR Mk. V, FL949, flown by F/O Josef Pavelka, No. 311 Squadron. Mashine is simply delivered in two tone, bottom and side of fuselage in white, wing and horizontal tail in white and top of fuselage, wings and horizontal tail in Extra Dark Sea Grey.
Impresive kit! Sample presented here you can find here and please note that last month Eduard released another sample and you can find it here. My thanks goes to Eduard for sample kit provided!
Srecko Bradic


