Eduard Crusader
Vought Crusader has its significant place in aviation history and also it is nicely shaped airplane. Making of plastic kit of this plane is real pleasure and probably the best edition ever was Eduard Crusader, which is original Hasegawa kit with Eduard upgrade material.
This kit is in 1/48 scale, limited edition series (in moment of this article just few left in Eduard stock) and stock code is 11110. Package is standard excellent for this series, assembly booklet, original plastic parts, pre painted etched set, non painted etched set, resin parts for wheels and pilot seat, protective mask, decals, foil for HUD in cockpit. Additionally, Eduard add inside one small instruction for painting, as well in basic booklet, some mistake were noted.
As usual, it start from cockpit, first I do is remove some surfaces, side consoles area and then add several non painted etched parts there. Entire cockpit was painted in grey color. While this was drying, I had clear up instrument panel part and place on it Eduard pre painted panels. It goes smooth and fast and little more patience and time need for few control stick on pilot board. Air intake consist from two parts, upper and lower. Main landing gear bay is interesting as well it include rubber parts, which is later used to slide in landing gear pins and it holds it tight. It is pleasure to note that no matter how some parts look complex, they match each other finely and parts are so precise. One thing I skip is painting and placing of hook in its bay, I leave mounting of this part at the very end, to avoid unnecessary protection work.
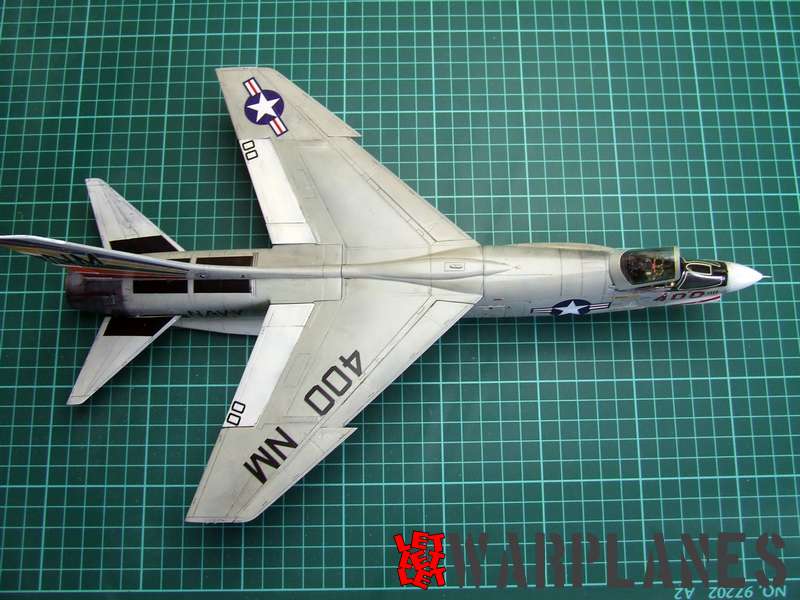
When fuselage is on assemble, inside half’s are placed wing bay, landing gear bay, cockpit hub (with mounted instrument panel, air intake and landing hook box. As well there is variation in details, I need to remove bulge on vertical tail (cut is and smooth sanded) as well my version does not have it. Next step is wing assembly. Crusader is specific that its wing can be tilted upward and this give additional lift during the take off. This feature is provided here so you can make wings in upward position as well closed position (in flight). I decide to keep my wings closed as well in open position under the wing is visible so many pipes and wires and as well I have no any better details of it, I decide for closed wing position. All flaps are also possible to put on neutral or down position.
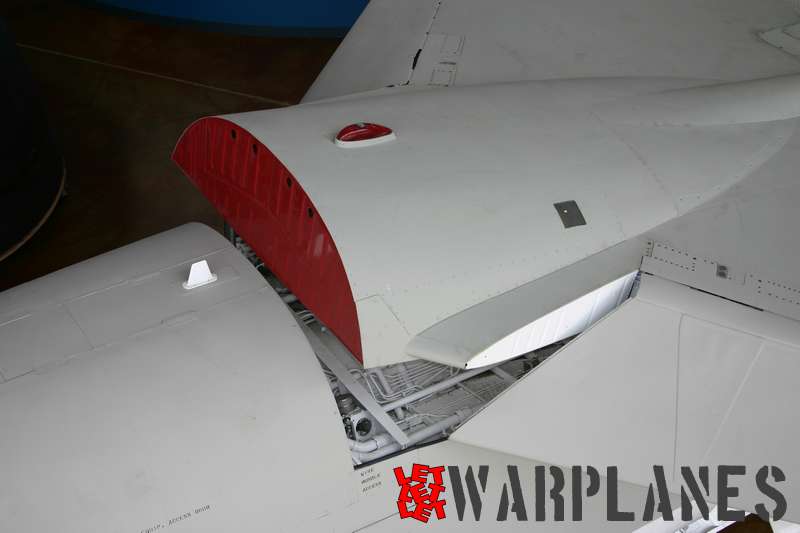
After that, mounting of landing gear is next. Before that is important to paint interior of landing gear as well the same landing gear. Reason is that when place landing gear on its place, cover panels come above as well landing gear doors so it would be impossible to paint properly interior. For me, that was best to paint it first. Landing gear is mounted but not wheels, I left em for the very end. Horizontal stabilizers I also left for very end, it is more easy to finish em completely and just push inside holes (into rubber holders). What I have replace on this kit is engine exhaust, I use Eduard Brassin set 648302 and air intake 648301. They are better detailed then original parts.
Completing of the cockpit is last thing to do before painting. There is two options, to do kit with open cockpit or closed. Difference is in number of parts used as well some adaptations need for open cockpit. Area which stay the same is HUD, which is etched part with transparent foil on it and windscreen. In case to left canopy in open position, there is need to cut on fuselage a bit of plastic above slot where canopy is set, to allow it to be open. Also inside rear part of canopy need also some sanding. Inside canopy are mounted three rear view mirrors, plastic frame and etched parts over it. It is better to paint cockpit canopy separately and place it after all is finished.
Two main resin parts of the seat need to be painted before merge them together. Details on resin seat is excellent. There is problem with etched part no 10. It need to be bent over and on resin part RP9 but problem is that resin part is curved and during bent process I damaged much of paint over etched part so I need to paint it again. Maybe it would be better that that was cast as resin element on RP9. No problems observed with rest of parts, they are placed on seat without any problems.
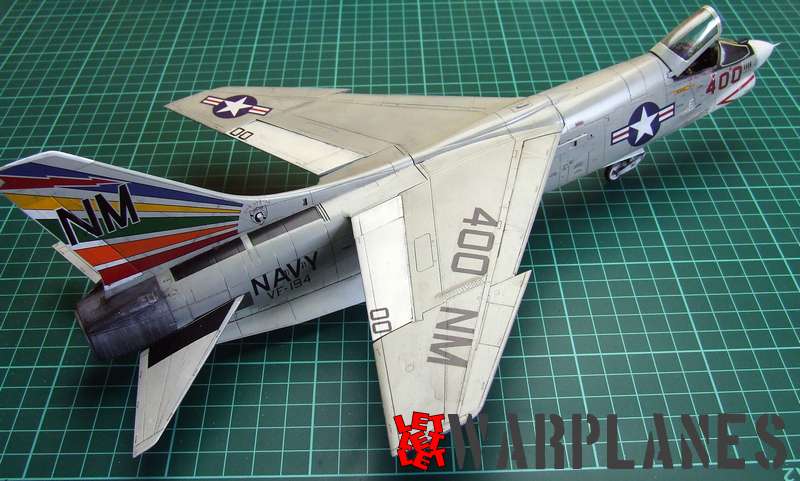
Subject of this model build is LTV F-8E Crusader and this aircraft initially belonged to VF-162 ‘The Hunters’. Later it was transferred to VF-194 ‘The Red Lightnings’ at the USS Ticonderoga. It was lost over North Vietnam on February 14, 1968, when hit by a SAM, near the city Vinh and the pilot LTJG Robert Charles McMahan was killed.
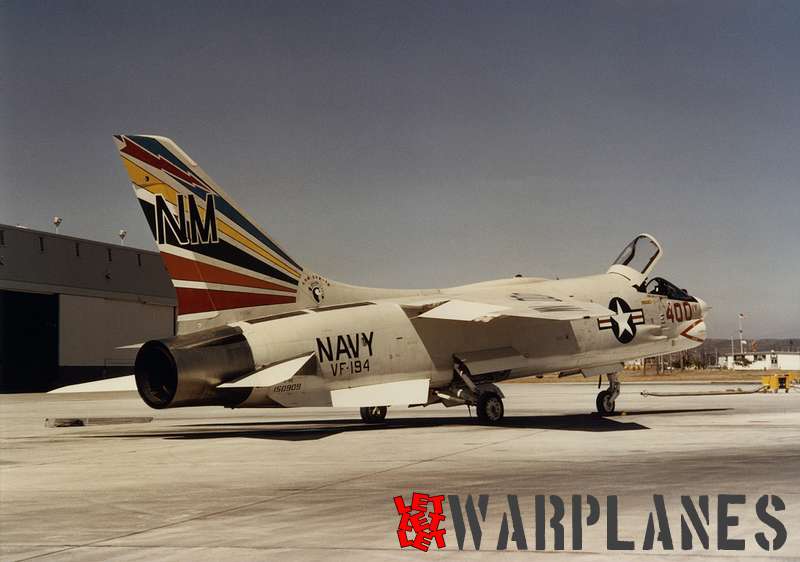
During its few years of operational service, this machine change several markings finishing. During the service in VF-162, it had black number 201 on nose. Radome was black and on wing center section was text The Hunters (this area was white and letters was red or black). In the VF-194 it changes its look several times. In first time it have simple NM letters on tail and red arrow on vertical tail. On rear fuselage was letter NAVY, unit data as well carrier name. Vertical tail also contain serial. Black number 400 was on nose and wing center section was red with white letters on it. Area around the cannons was black. Later it get colorful lightning’s on the vertical and retained the rest details like black number 400, black anti blast around cannons. later details was changed, letter USS TICONDEROGA was removed as well black around cannons and number 400 become red with thin black shadow. In final known look, small art design placed on vertical tail root, just in front of lightning flash, was removed. Camouflage was simple Gull Grey at the top and bottom white.
That was very colorful airplane and interesting to do. Decals provided by Eduard are excellent, cover all what need for that sample. All I have to do is to remove selected sections of decals and apply them. Interesting that F-8E have no much service data stencils so that part goes easy and fast. Last work on kit is attaching resin wheels, hook and light. I noted from many photos of the period that bolts on wheels are black, nice detail to add. What I like is that Eduard also add small decals on wheels too.
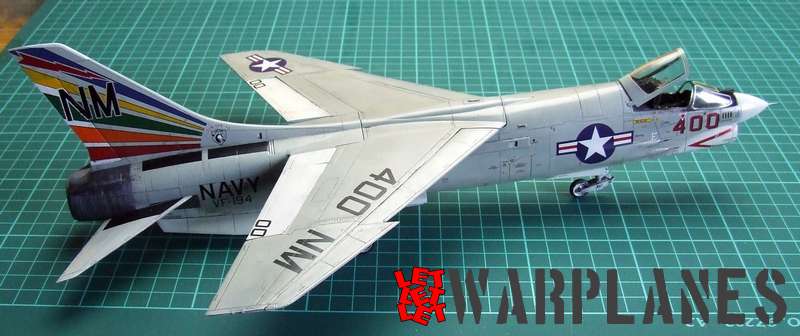
Kit is so welcome on any work bench due to its easy to work with, excellent details and well covered subjects with decals. No matter kit will be discounted soon, you can always upgrade it with Eduard sets and get similar result. Highly recommended and big thanks to Eduard for this kit!
Srecko Bradic


