Fokker Dr.I Eduard update
Fokker Dr.I is always welcome on my work bench and the pleasure is better when get some good kit, like the Eduard. A few years ago, Eduard released their 1/48 scale kit and after that, they also provided a smaller version at 1/72 scale. The sample kit here has stock number 7438.
This is a very simple kit and the simplicity is even more apparent with this Weekend Edition kit. Inside the box is all you need, assembly leaflet, decals and plastic parts on one fret. And that was a nice for me to test some other products on this kit, such as German WW1 belts and engine for the Fokker Dr.I. Start building by painting the basic interior color, which is raw material color, linen and wood. After that, start work on the update.
Belts
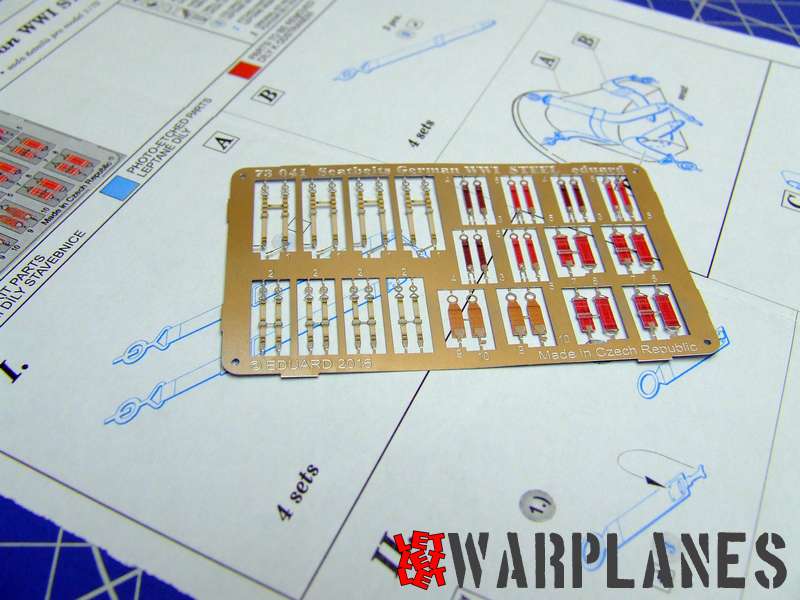
A few months ago, Eduard released German WW1 belts at several scales. The samples seen on images are 49102 (in 1/48 scale) and 73041 (in 1/72 scale and seen there). These are steel, pre-painted etched set’s with great flexibility and look. There is a variation of belts there so inside you have belts for Fokker, Aviatik but you also use it for other types with this set (Albatros C.III, Hannover CL.III…). Work is simple; cut the selected part away; bent it into proper shape and cement it at its proper position on the seat. And this is all! This Fokker Dr.I looks great with this detail.
Building of the kit
The kit is simply to built and specific. I decide to complete it with all painting and markings followed by assembling. This way is also used in factory and can be applied here. The kit lacks handgrips, they were at the bottom of the rear fuselage and they can be easily made from wire. I did not find any other problems in kit building; the parts are nicely made with a perfect fit. Since it is a triplane, you must pay attention with the wing mounting to align the wings in place into a symmetric position. If you don’t do this, you can have problems with the mounting of the struts. Place bottom and middle wing in the correct postion. If they are perfectly placed, the top wing will fit without problem. Note that the wing struts pass through the central wing so you realize that symmetry and a good position is more than important. And this is the only tip regarding building this kit.
Engine
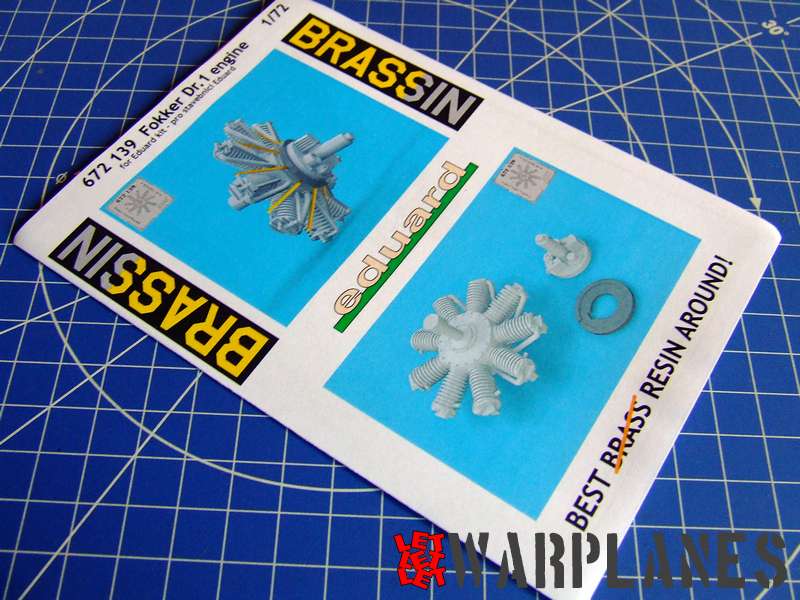
The kit has its own engine and this is good enough but I decided to add extra detail and used the Eduard Brassin engine, product no. 672 139. It comes in a plastic case with a small instructional leaflet and a few resin parts and etched parts. Be careful when cutting of the main part. On the engine as well as on the rear side, where the molding lines can be see , pipes are placed. So cut from a bit larger distance and then trim it with sharp knife. Other parts don’t have this problem; just cut them, paint, merge to the engine and put them on kit. This engine is very detailed but can only be seen from the bottom of the engine cowling.
Painting
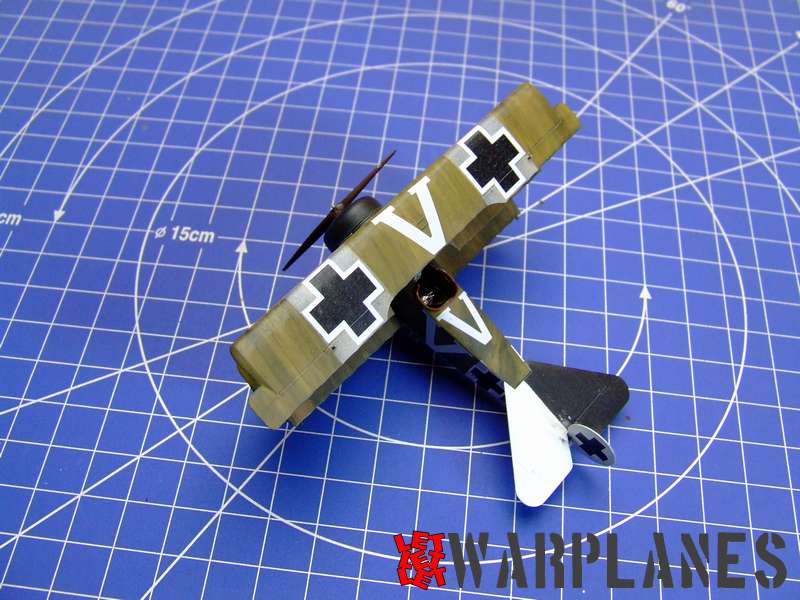
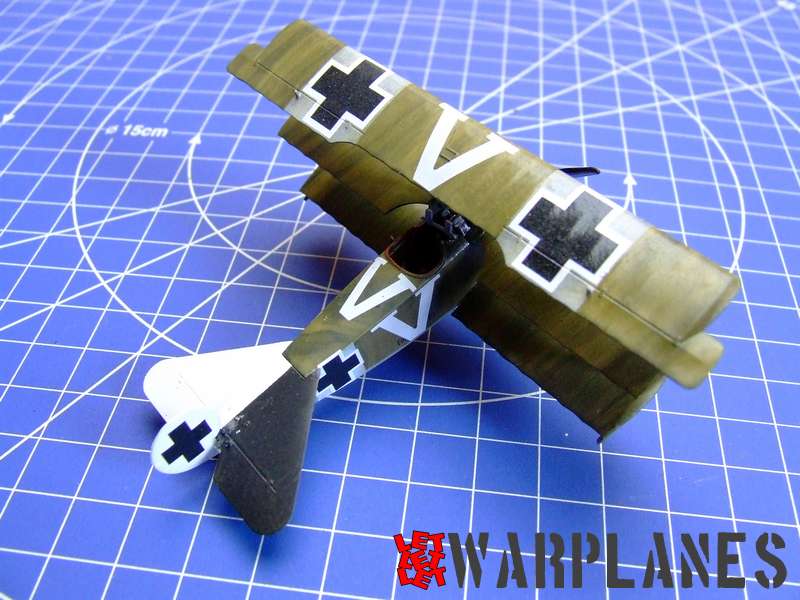
There are two options given in the kit for the finished model and I selected the one flown by Lieutenant Herman Vallendorf, April 1918. Some details on the photo are different from Eduard’s proposed painting so I made some changes. Major change is that top wing has a white square as cross base but it looks like it is not completely covering. Also I noted that the real airplane is very dirty, especially on the fuselage.
Conclusion
All products here are great and nice to have. Simple to use, realistic and results can be achieved very fast. You can order here- Fokker Dr.I, belts and engine. Big thanks to Eduard for providing the sample products.
Srecko Bradic


