Zlin Trener
Kovozavody Prostejov is back in action and it returns in the best way- with a brand new kit entirely designed with full benefit of 3D design. This brand new kit is the famous aerobatic airplane Zlin Trener.
There are a few packages delivered with this kit and the images show just two of them, kindly provided by KP. Very interesting to note that new revival of the company captured the old style of the box, starting with use and positioning of graphic elements as well as excellent aviation art on cover box which is in the same level as the old good KP products. Rear side of the box is used for the color schemes and this is smart use of the space. For this review I have decided to build sample kit KPM 004.
When opened I found a plastic bag and whole content was inside, assembly leaflet, kit parts and decals. Leaflet is very modern design, printed on glossy paper with assembly steps generated in 3D software and it is very well made!!! Clear and straightforward! Rear side of the leaflet includes one finish pattern, not included on the rear cover of the box. Paints recommended by manufacturer are Humbrol and Agama. All parts are placed on two frets and they are of top quality and excellent details.
Building of the kit is more than easy, first of all paint all interior elements and apply decals on the instrument panels. Since this is a two seat airplane, you have double work for the front and rear cockpit. There is variation in colors in Zlin Trener and as well I decided to work on a German operated machine, some elements inside were black (possibly they could be grey too). Very effective details in cockpit are the pilot seat belts made as decals, very effective and cheap to do and look very good through kit canopy. The whole kit can be assembled and prepared for painting within a few hours! So simply and so precisely done. Interesting to mention that main parts like fuselage have no positioning pins and sockets but this causes no problem in work and the kit almost has no demand for use of filler.
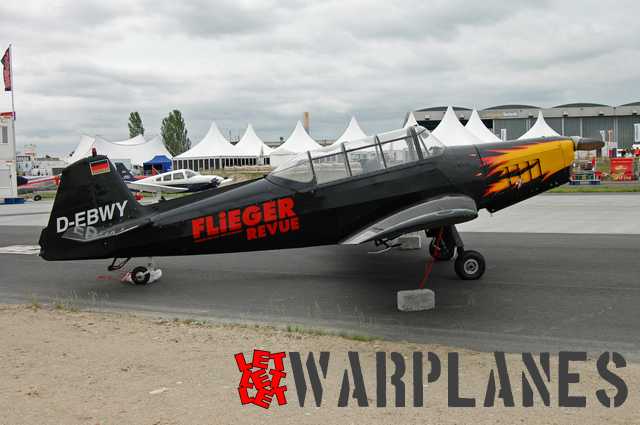
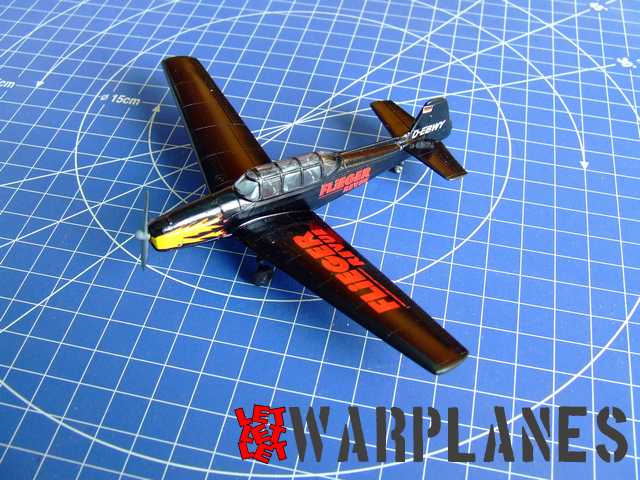
A few little problems need to be pointed. The kit misses the instrument panel cover for the front instrument panel. It is easy to cut it from plastic sheet, bent it and place over. I decide to do sample kit which presents Flieger Revue decoration and this sample has a glider towing attachment on the back bottom fuselage. This is a removable item but I hope worth to be mentioned. Other details which were missed are two counterweight balance, placed at the wing bottom. And one detail which are on some airplanes (like on this Flieger Revue) is the small depression on the wing tip so you need to provide it on the kit.
My final kit is mentioned above, sample with Flieger Revue decoration and it looks great. It has large decals both on the top and bottom wings as well as nice decorations all over the fuselage. I was a bit cautious as to how will the flame decals would set on the curved nose shape but decals bent to shape perfectly, even without use of any decals solutions!
An excellent kit and a great way to come back on the market. No matter of a few points, this is absolutely a worthwhile kit to have and I highly recommend it to you. This kit’s can be found here and many others here!
Srecko Bradic
Sample kit provided by Kovozavody Prostejov


