Eduard set for Zvezda Bf 109F
For the many years behind us, Eduard has delivered so many products related to the Messerschmitt Bf 109 and I think that without it, the world market would be far poorer. Their ranges are wide, from detail sets, Brassin conversion sets up to the complete kits. What will be presented here is the upgrade etched set for the Zvezda kit of Bf 109F in 1/72 scale.
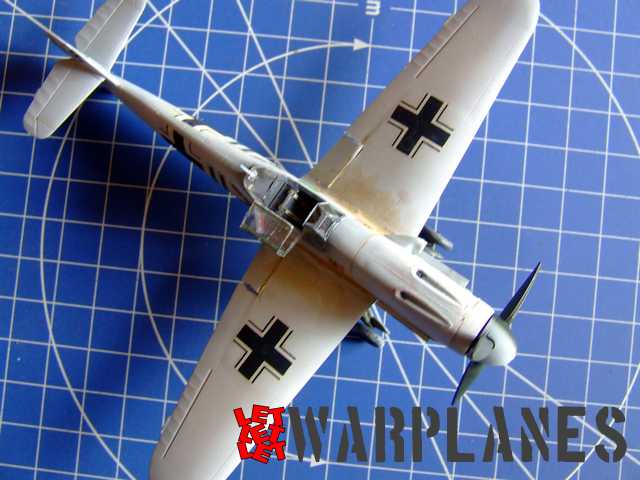
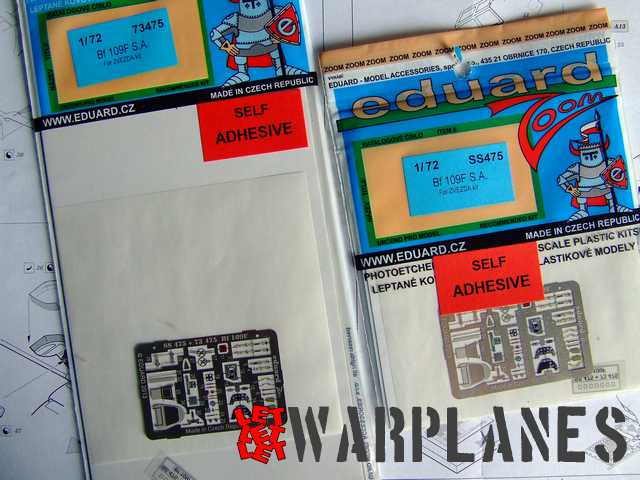
So why the Zvezda kit? The reason is very simple- this kit is possibly the best and most accurate kit of the Bf 109F in 1/72 scale on the market. What makes it very attractive is the fact that it is released as an easy build kit and my build experience shows that this is very easy to build and very precise assembly. Eduard released two sets for this kit, they are 73475 and SS73475. As you see, letters SS makes a difference and the set with these letters is an easy one with cockpit details and with SS are with external elements too. In this build the review will be present larger set.
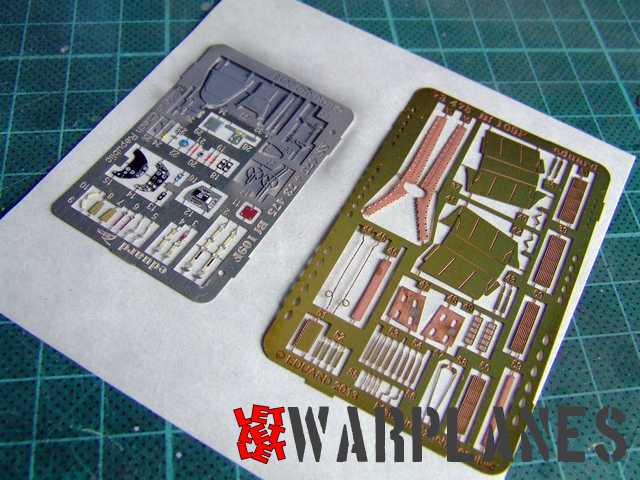
Set 73475 includes two sheet of etched metal, one steel with pre painted elements and for the cockpit and second made of brass with external elements. First step in cockpit preparation means you need to paint entire cockpit in the RLM 66 color. Build goes so smooth and means nothing else but applying parts on dedicated positions. You should take a bit more care with part 28, it holds the control wheel with wires behind and when you place this assembly element, assemble the rear cockpit wall in place, to set up correct position. This is the only part which need a bit of attention. The cockpit set includes details like the label on cannon cover but to regret, it can not be seen as it is behind and under the instrument panel. Application of the cockpit set is nothing else but a half-hour job, even for the less experienced modeler.
Use of the external set demands some surgery over the external elements of the kit. First to come is the nose radiator flap; you just cut it and replace with the nice etched flap. Of course, under is the cooler and Eduard provides nice mesh for the radiator. There are two parts to be used at the fuselage rear, etched parts 57 and 58. They represent control cables and links and they could present problems if the vertical rudder is of different color, you could have a bit problem with masking protection. So if the rudder is not in camouflage color but some other, first complete the whole kit and then cement these two parts.
A detail which I most like is the main radiators under the wing and the Eduard replacements fill the gap which is present for many years. In general, kits are presented always with the cooling flaps closed and in reality they were not closed, they were open in order to allow air flow through and give proper operation of the cooling system. What you have to do is to cut the panels on the kit parts and also from flaps. Metal flaps are so detailed and include even interior ribs!!! They demand some precise tools to position them and after that, you just bend the radiator flaps into proper shape. I would like to suggest to paint it before bending and cementing in place, it will be much harder later. I have placed it in the gap and positioned the top surface a bit below the top wing surface and bottom surface a bit lower and make some two millimeter gap. I did it in regard to the archive images, please note that these angles are variable and choose your position.
For the landing gear bay are provided in total four parts, they make side walls and in a just few minutes they turn this into a very detailed area. But the most complex section is the cockpit canopy. You need to cut it in order to built in some elements and leave it open. Interior elements include head armor, canopy hinge and lock mechanism. Almost all of these parts need to be painted into the interior color and only one part is given painted, this is part no. 11, it is the head rest and it is in red color.
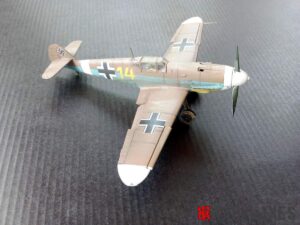
Images shown here present most important steps in the etched set application as well as the final result. My impression about this set is top and I would like to give higher possible recommendation! Its definitely turns this kit into an award winning model!!! You can find your sample here!
Big thanks to Eduard for this amazing set!
Srecko Bradic

