MiG-21PFM
The family of Eduard kits of the MiG-21 is growing and latest in the family is their MiG-21PFM in 1/48 scale. Dorsal spine is the main feature and there are also several more details in this brand new kit.

As usual, this kit in premiere edition comes as profi pack and this time Eduard did a great job in making available upgrade sets for this kit and there is a cockpit set and engine set. My principal goal is to include all of these upgrades with it so this build review presents the upgraded version of the basic Eduard kit of MiG-21PFM.
Cockpit set
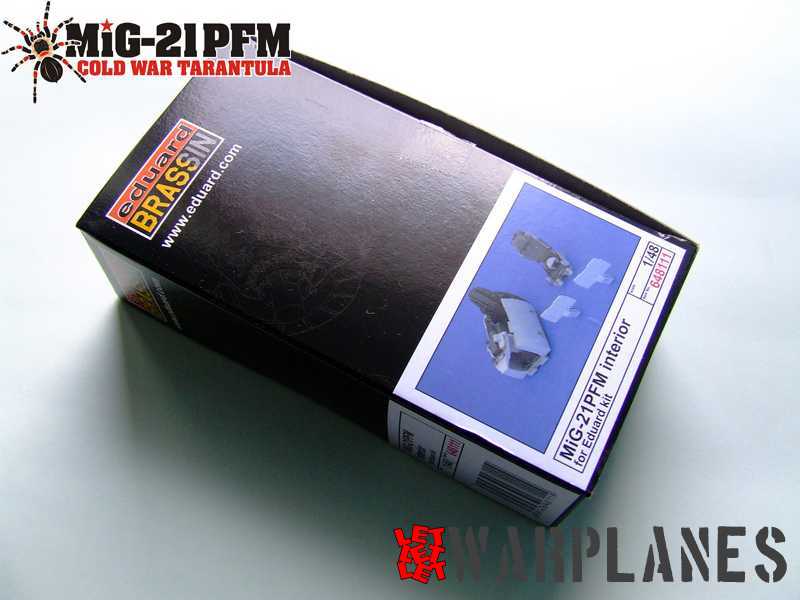
First step is to use Eduard Brassin cockpit set for cockpit. Set stock number is 648 111 and it come with a full set of resin parts and two sheet of etched parts. Quality of the parts is top-notch and during the assembly they fit perfectly. My first step is to spray with primer all resin parts as well as one metal sheet (without pre painted parts). After that I have hand brushed painted the interior blue green color. Most prominent part is the cockpit tub and it carries all elements of the cockpit. On the side of the tub several etched instruments consoles are placed which give a top look. There are a few variations given for the main instrument board and my final decision was to use etched samples. One thing is not clear to me- when placed on the rear of the tub, the rear cockpit frame, resin part R 9, must be at an angle to fit the spine on the plastic kit. But when put it in this position, there are two triangular gaps. I tried to see how this looks like on the real airplane but this area was covered with ejection seat so I was unable to see it.
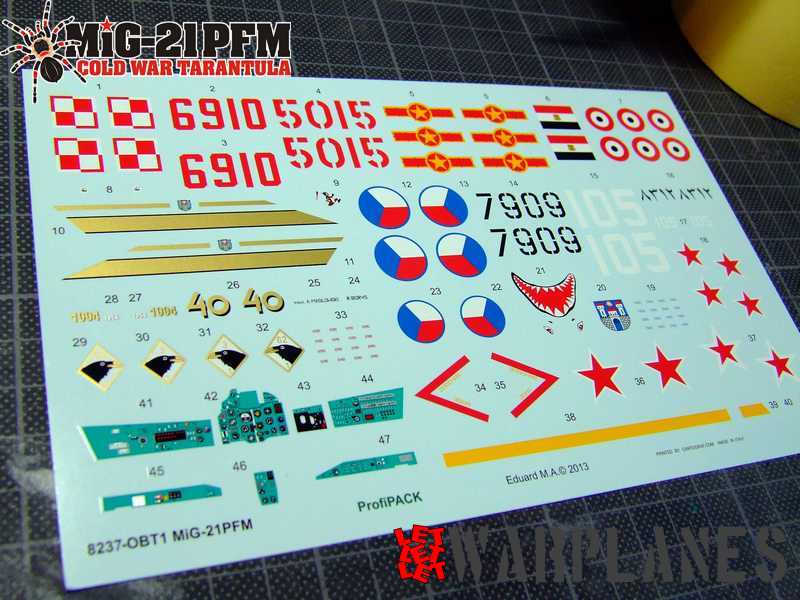
With the cockpit set is also resin seat parts but I decided for this time to use the basic plastic seat from plastic kit (and to use it in final stage). The completed tub is mounted in the right fuselage half of the basic plastic kit. Basic plastic kit comes with an excellent booklet for kit assembly, eight frets with plastic parts, two sheets of etched parts, two sheet of decals and one sheet of protective masks. Parts are very precisely molded! But before I continue with basic kit assembly, I have to build in engine for the kit, it comes as a separate item.
Exhaust nozzle
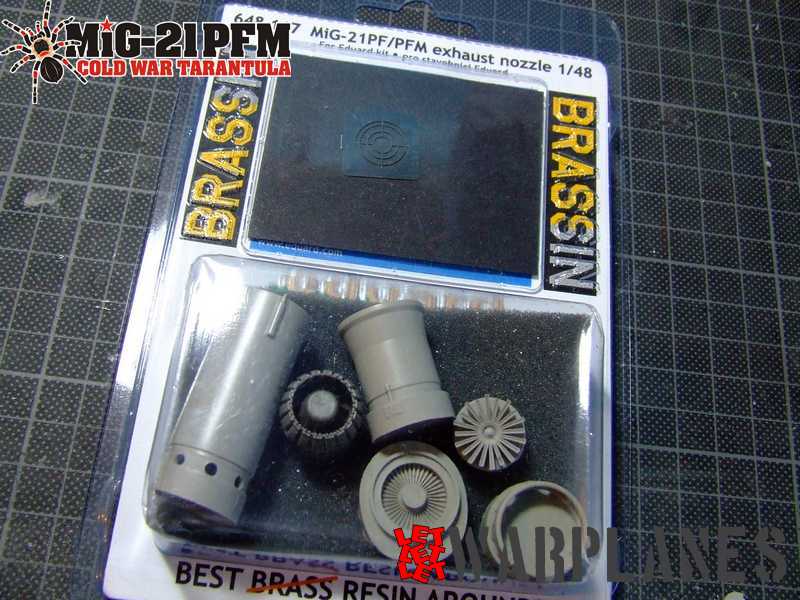
Actually, it is not the engine but exhaust nozzle, it comes as stock item 648 117 and it is packed in transparent plastic. Content is simple, six resin parts, one etched parts and instruction leaflet. In general work with this goes so easy but I must warn you up about one resin part- R6. It is very tiny and fragile so you must give maximum attention when building it; otherwise it could with ease crack. I guess this part will take most of time to remove it and clean it up, the rest of assembly and painting goes so easily. When completed place it in rear section of plastic kit fuselage but don’t forget to paint fuselage interior in metal color.
Kit assembly
Kit assembly continues with assembly as proposed in kit instruction with this instance that some parts need to be converted, like the nose wheel bay. It needs to be trimmed to be properly positioned (reason is the resin cockpit). Rest of the assembly goes really fast and smooth without any problems. There is needed just one day to bring the entire kit into the stage ‘ready for paint’. The kit received a coat of the primer and after drying I have sprayed green elements on the kit. Eduard provides protective masks for the radome elements.
Painting
Time to start final painting. First of all to note that you should study kit and assembly instructions before starting the build and give highlight to the parts use with the particular version you are going to make. My decision from the start was to make sample used by Vietnam during the Vietnam war so I put attention on parts needed for that version.
Now comes the problem… this kit provide one very interesting and in same time mystery scheme for this airplane, sample machine with fuselage number 5015. This machine is well known in having mottled top side camouflage. There are few MiG-21 machines which received camouflage pattern overall and they are all like fingerprints- very specific and personal. None of them are based on any particular pattern so each painted sample is unique with pattern. There are two known images which could be determined as 5015. What is specific is that not the whole top of the airframe is painted; some elements like cockpit frame, vertical rudder and aerial mast are left in natural metal color. This gives a good chance to make comparison with the rest of the airframe and simply denote that at the top is not only one color over natural metal base but two colors, one light medium shade and other is dark spots over it. Don’t try to determinate precise shade and hue from black and white images, it is impossible (many institutional studies were made and show it is not possible). Other problem presents the fact that the Soviet Union in that time did not paint airplanes and as well China gave technical support to Vietnam in that time, my guess is that this plane was used paints manufactured in that country. Again this is just a guess and the great thing is that after some searching and contact with some people, I managed to get a color image of the MiG-21PFM and it shows clearly top side in brown and green colors and shades are much familiar to those seen on the MiG-17 used there in combat.
So my solution for this plane is top in base brown with spots in green. Other images show difference in hue of the rocket pylon and bottom surface and this can indicate that bottom is very possibly painted. Color image show very light grey and this can simply be light grey but also aluminum paint (not natural metal). So if you decide to paint this kit in light grey bottom, this could also be a fine decision. I decided to leave it in aluminum paint.


Final assembly
Decal work is very easy in this way, Vietnam had just a few markings and basic stencils are added just for bottom. My guess is when this fighter was painted over, the stencils were lost. Final surface work presents spraying of the coat of matt varnish and letting it dry. For the cockpit I have used all etched set elements and placed them inside the cockpit canopy. Canopy was first painted in interior color. I used the basic kit seat for the kit which also provide much of the details (but resin one from cockpit set is far better in details).
Missile set
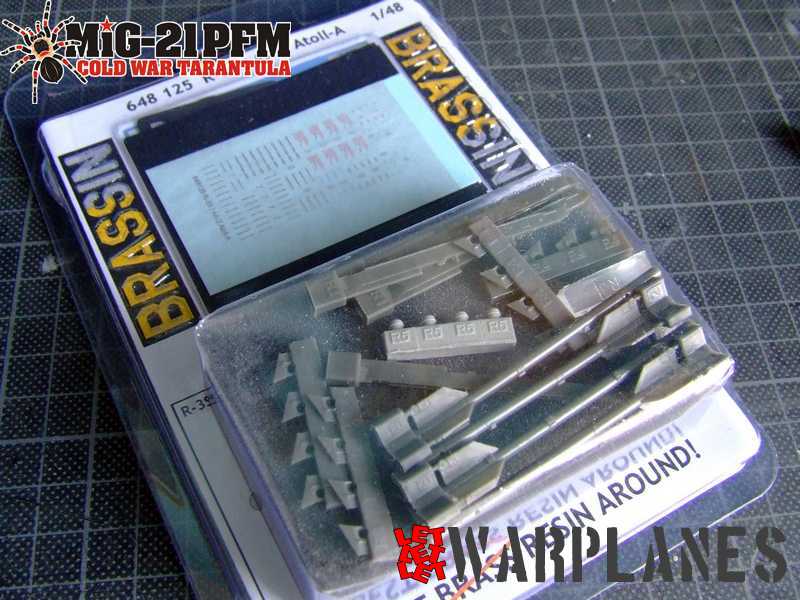
Another set is used here and this is missile set, stock number 648 125. They are an excellent Brassin product and they contain parts for the four missiles inside and for the MiG-21PFM you need just two. They are very easy to remove from the resin base, for assembly you need just to put front stabilizers in place in first step, then paint is and after that put the nose on the front body (I used transpaent heads provided in the kit). Etched parts are provided for the rear side. With missiles comes excellent molded pylons and in final work you need to put several decals on missiles and pylon. Attach it on the basic Eduard plastic pylon.
Conclusion is that this kit is an excellent one and it is welcomed to the growing family of the MiG-21 kits produced by Eduard. Assembly is easy, kit is fine in it’s final look, and paint schemes are very interesting. I highly recommend this kit! You can follow links bellow for direct orders:
MiG-21PFM 1/48 kit | Brassin cockpit set | Exhaust nozzle | AA-2 Atoll
Great thanks to Eduard for samples products!!
Srecko Bradic